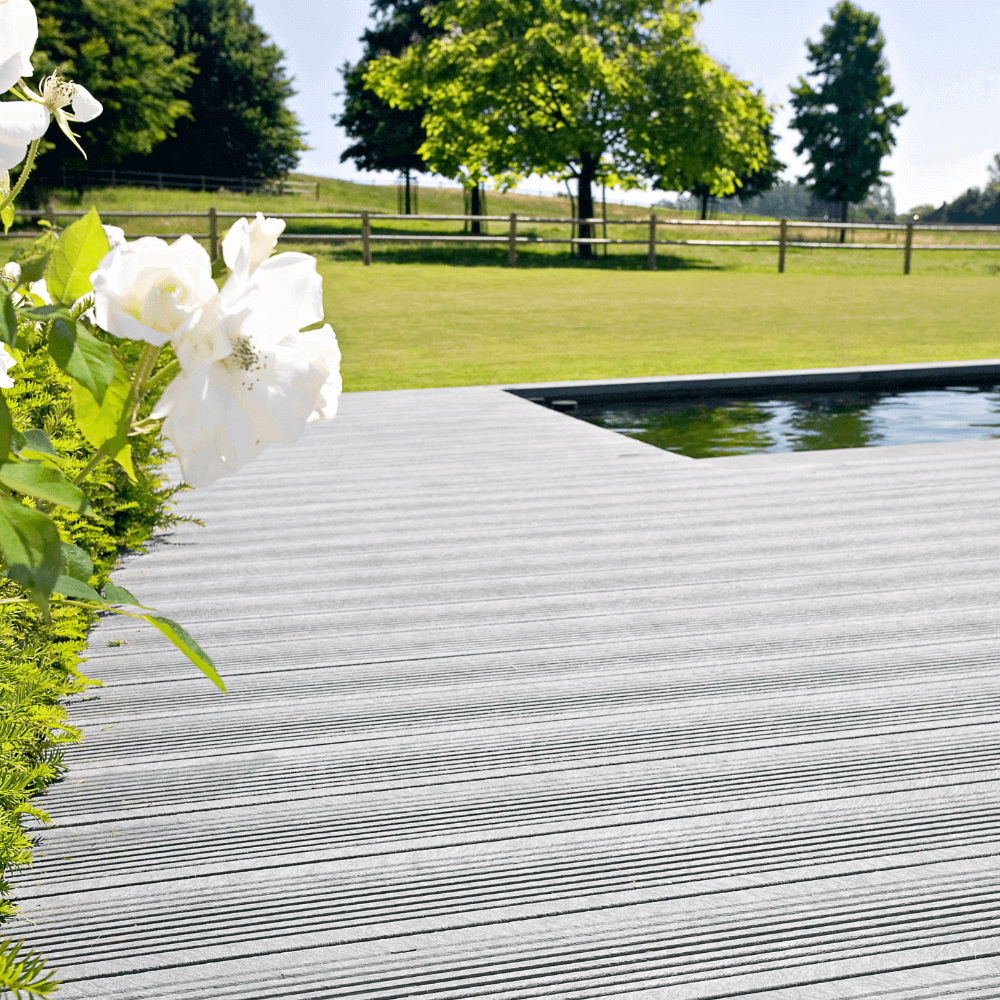
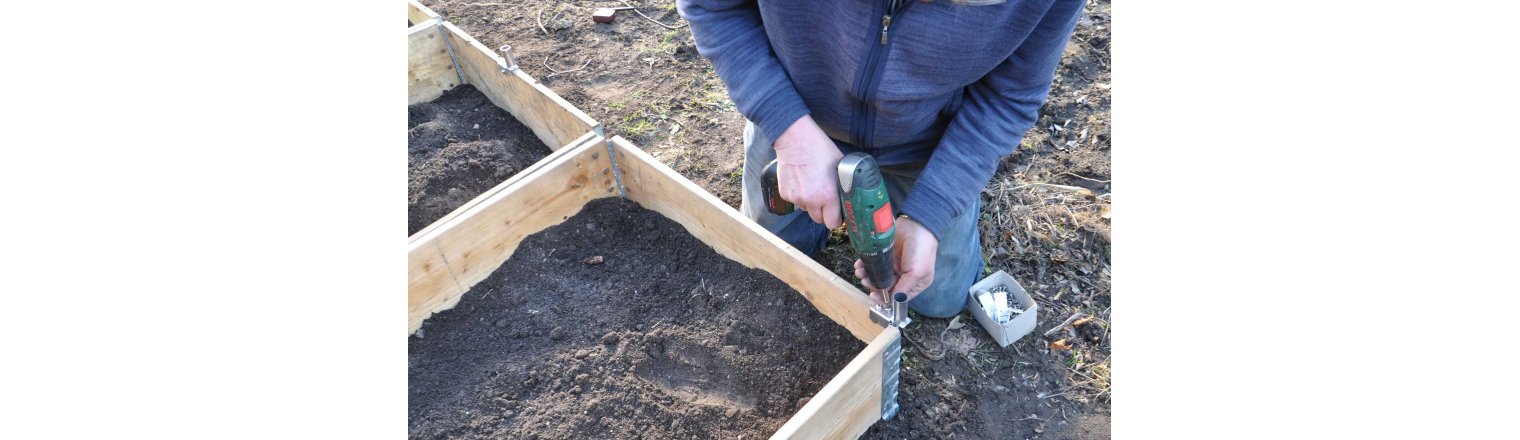
<p>The bed must measure 120 x 240 cm for the tunnel to fit. Therefore, 3 pallet frames of 80 x 120 cm must be screwed tightly together.</p>
<p>In order for them to be put completely close together, it is necessary to remove the lower piece of the metal bracket - with an angle grinder or a trowel. It is only necessary on the side where the frames are to be seen together.</p>
<p><img alt="" class="responsive" src="https://shop8190.hstatic.dk/upload_dir/blog/Afskaering-af-ben-pallerammer.jpg" style="max-width: 100%; border-width: 0px; border-style: solid; width: 2376px; height: 1192px;" /></p>
<p id="caption-attachment-29674">The part of the metal bracket that curves out is cut off</p>
<p> </p>
<p><img alt="" class="responsive" src="https://shop8190.hstatic.dk/upload_dir/blog/Samling-af-pallerammer.jpg" style="max-width: 100%; border-width: 0px; border-style: solid; width: 2228px; height: 1316px;" /></p>
<p id="caption-attachment-29680">The frames are screwed very tightly together</p>
<p> </p>
<p><img alt="" class="responsive" src="https://shop8190.hstatic.dk/upload_dir/blog/Roerbeslag-til-pallerammer.jpg" style="max-width: 100%" /></p>
<p id="caption-attachment-29678">Brackets are screwed on in the corners and in the middle in the longitudinal direction</p>
<p> </p>
<p><img alt="" class="responsive" src="https://shop8190.hstatic.dk/upload_dir/blog/Stopbeslag-til-pallerammer.jpg" style="max-width: 100%; border-width: 0px; border-style: solid; width: 1111px; height: 659px;" /></p>
<p id="caption-attachment-29682">Stop brackets are screwed on where the pallet frames are assembled. Then no snails will enter!</p>
<p> </p>
<p><img alt="" class="responsive" src="https://shop8190.hstatic.dk/upload_dir/blog/Pallerammer-med-overdaekning.jpg" style="max-width: 100%; border-width: 0px; border-style: solid; width: 3892px; height: 2628px;" /></p>
<p id="caption-attachment-29676">Snail-safe pallet frame bed!</p>
<p> </p>
<p> </p>

-1.backdrop.png)
-1.backdrop.png)