
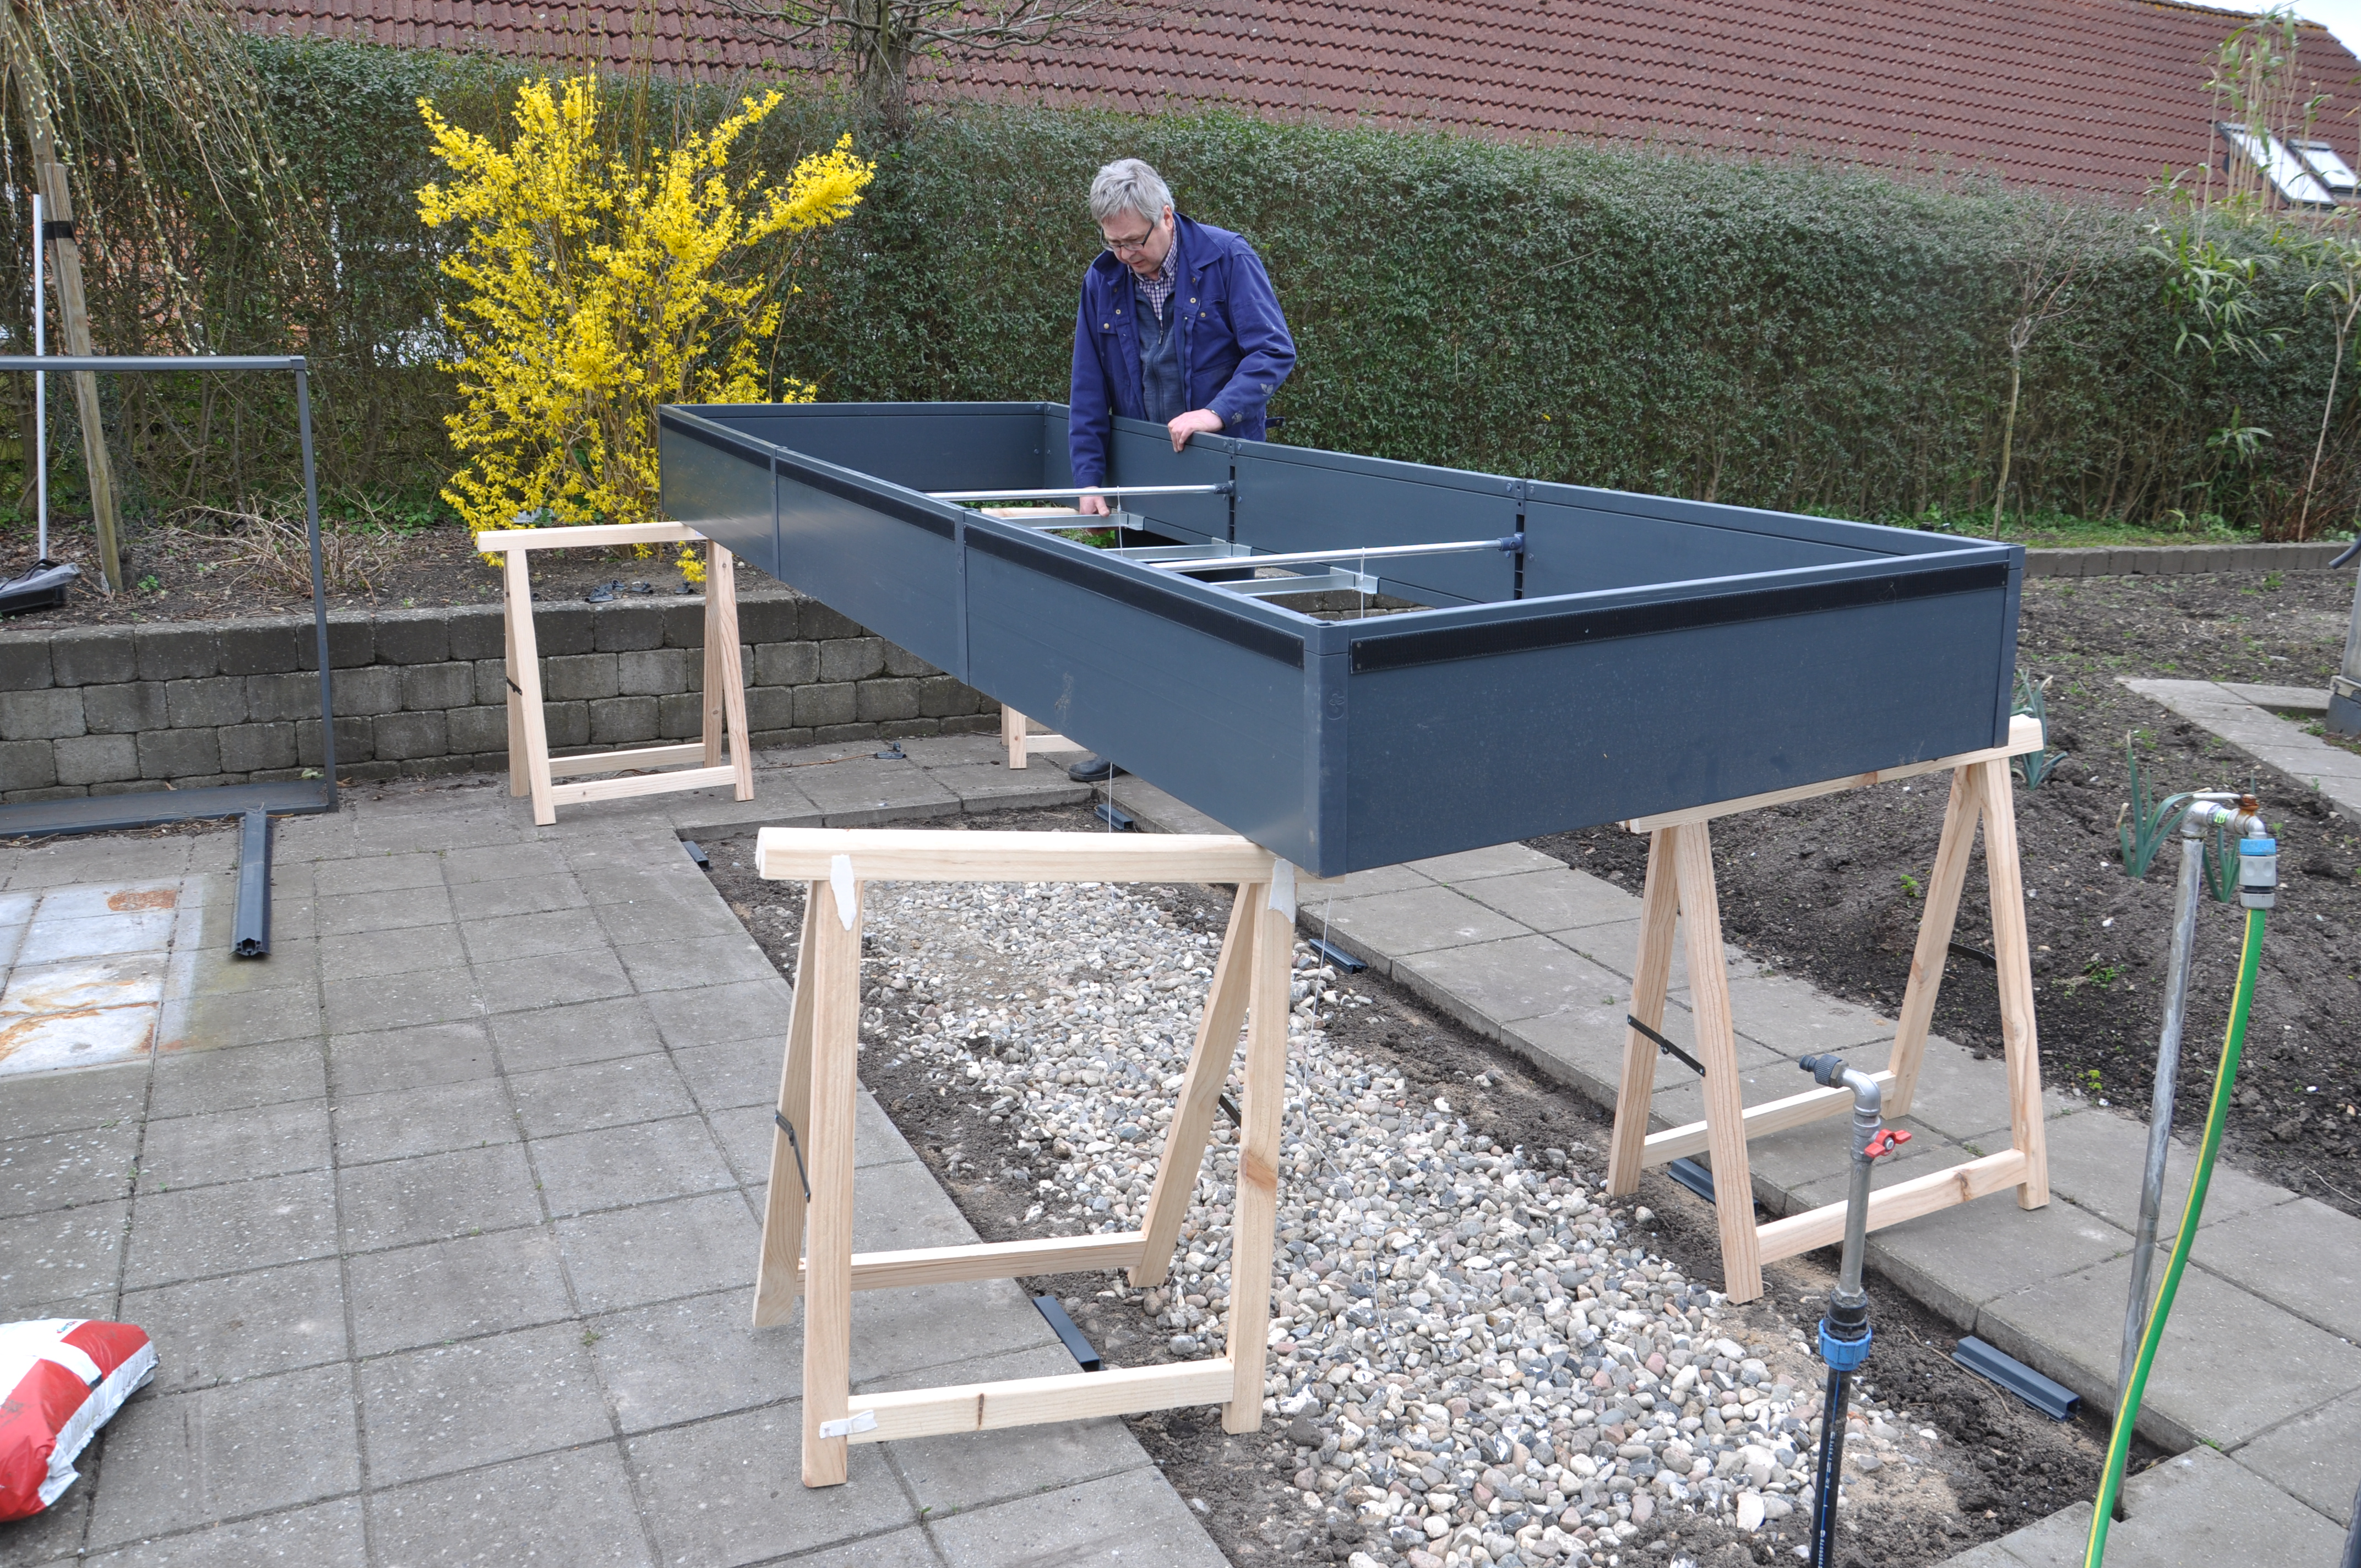
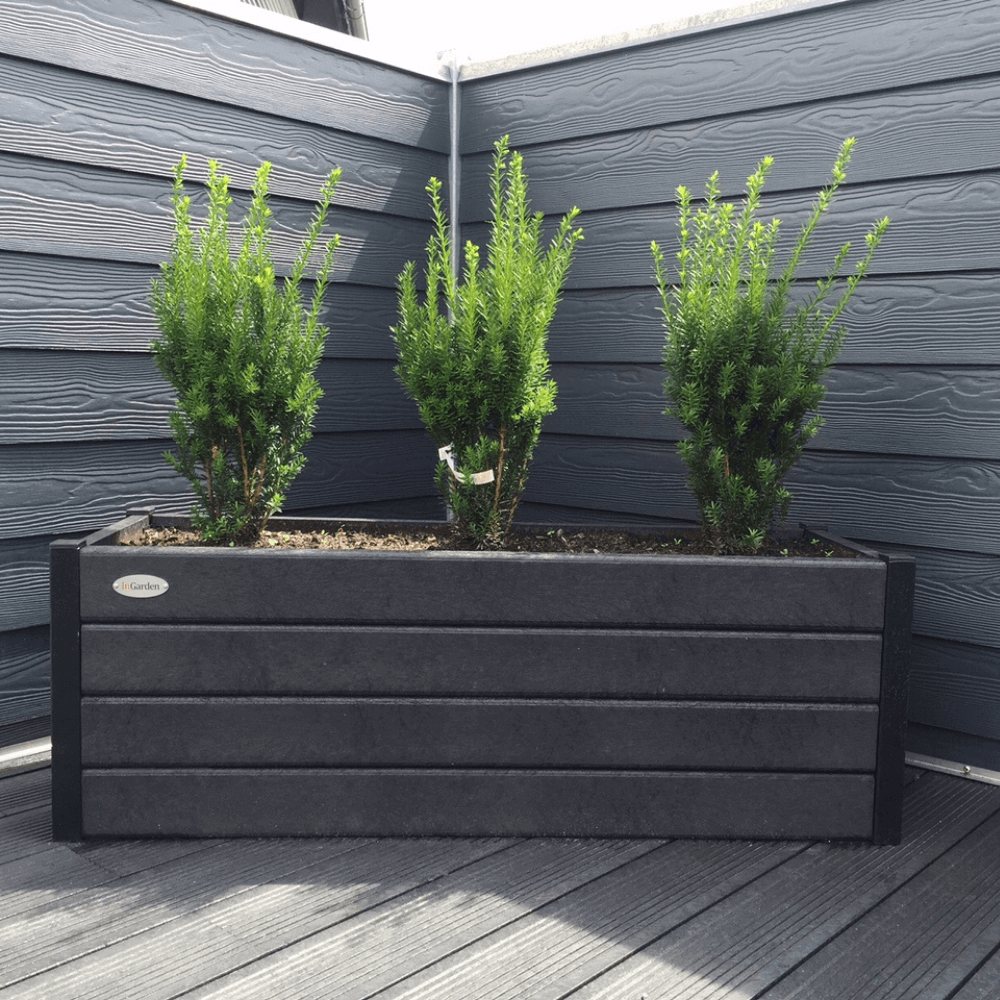
Here is how self-watering is mounted in a 360 cm raised bed. The principle applies to all goals.
Since the bed in the pictures must stand on an uneven surface with sharp stones, a bottom is mounted on which the self-watering insert rests. If the substrate is firm and without sharp edges, the insert needs no bottom.
Brackets are placed in the lower groove on the plastic planks.
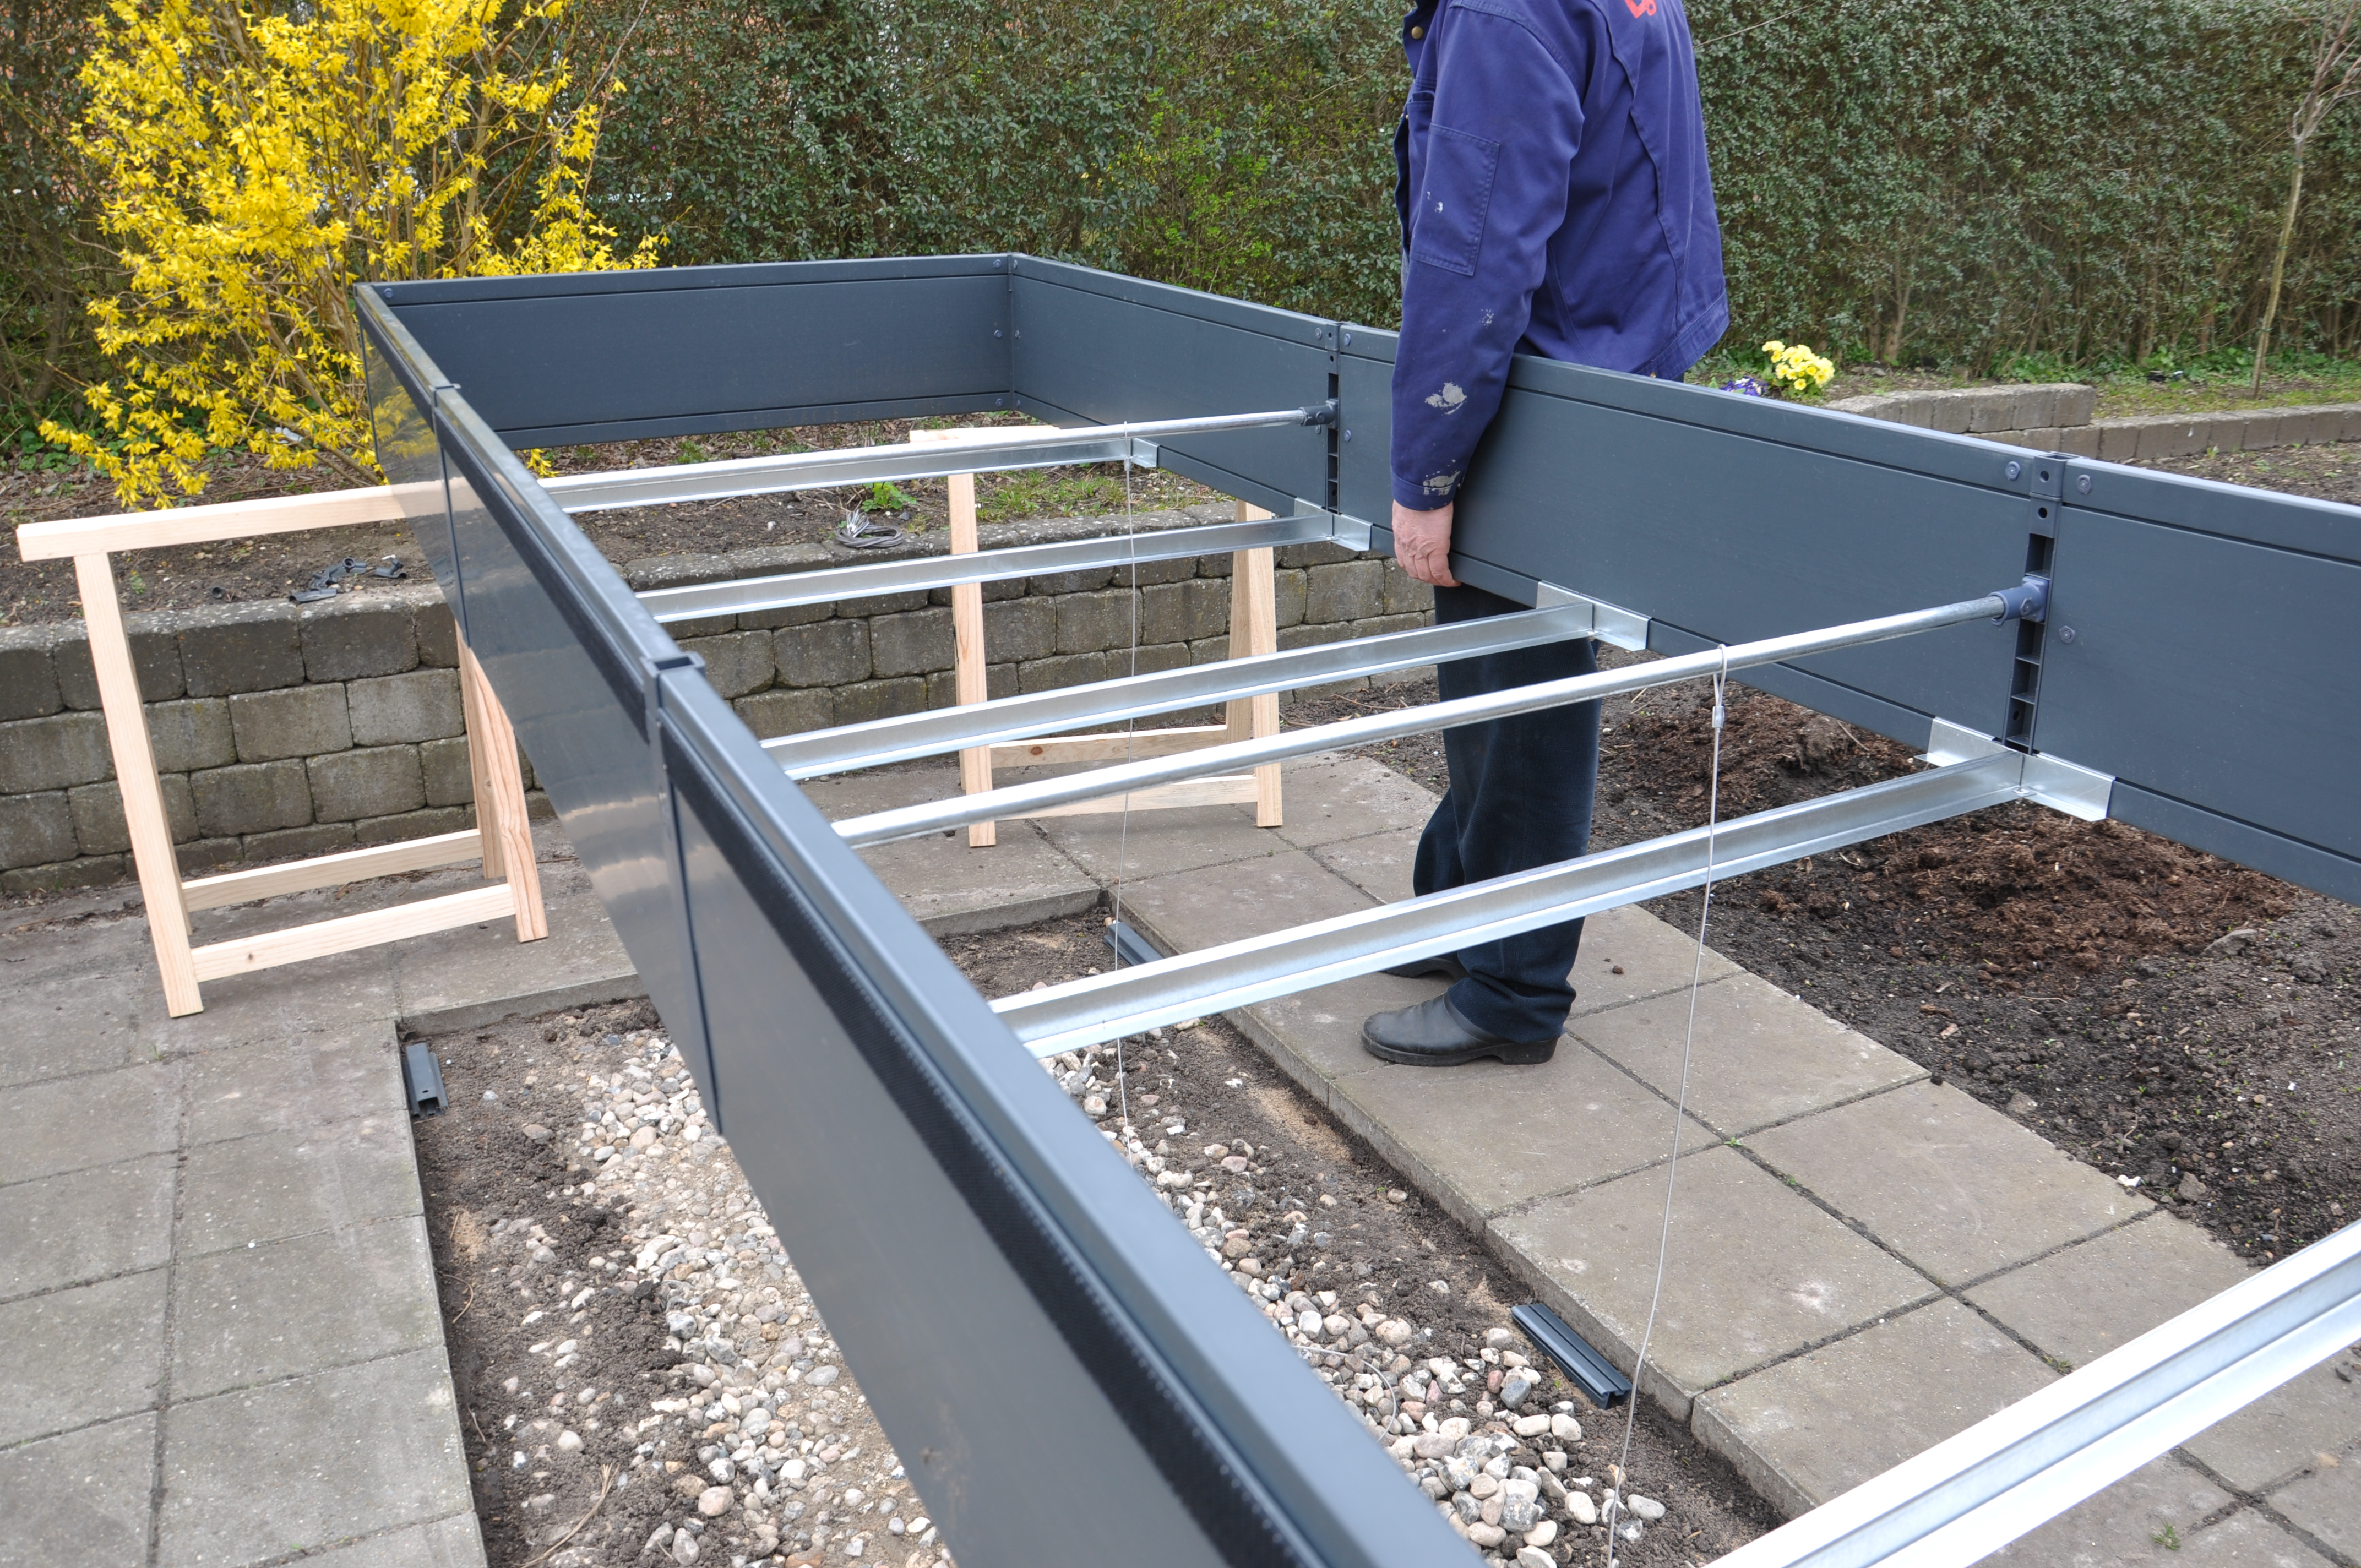
The bed is ready for mounting the bottom.
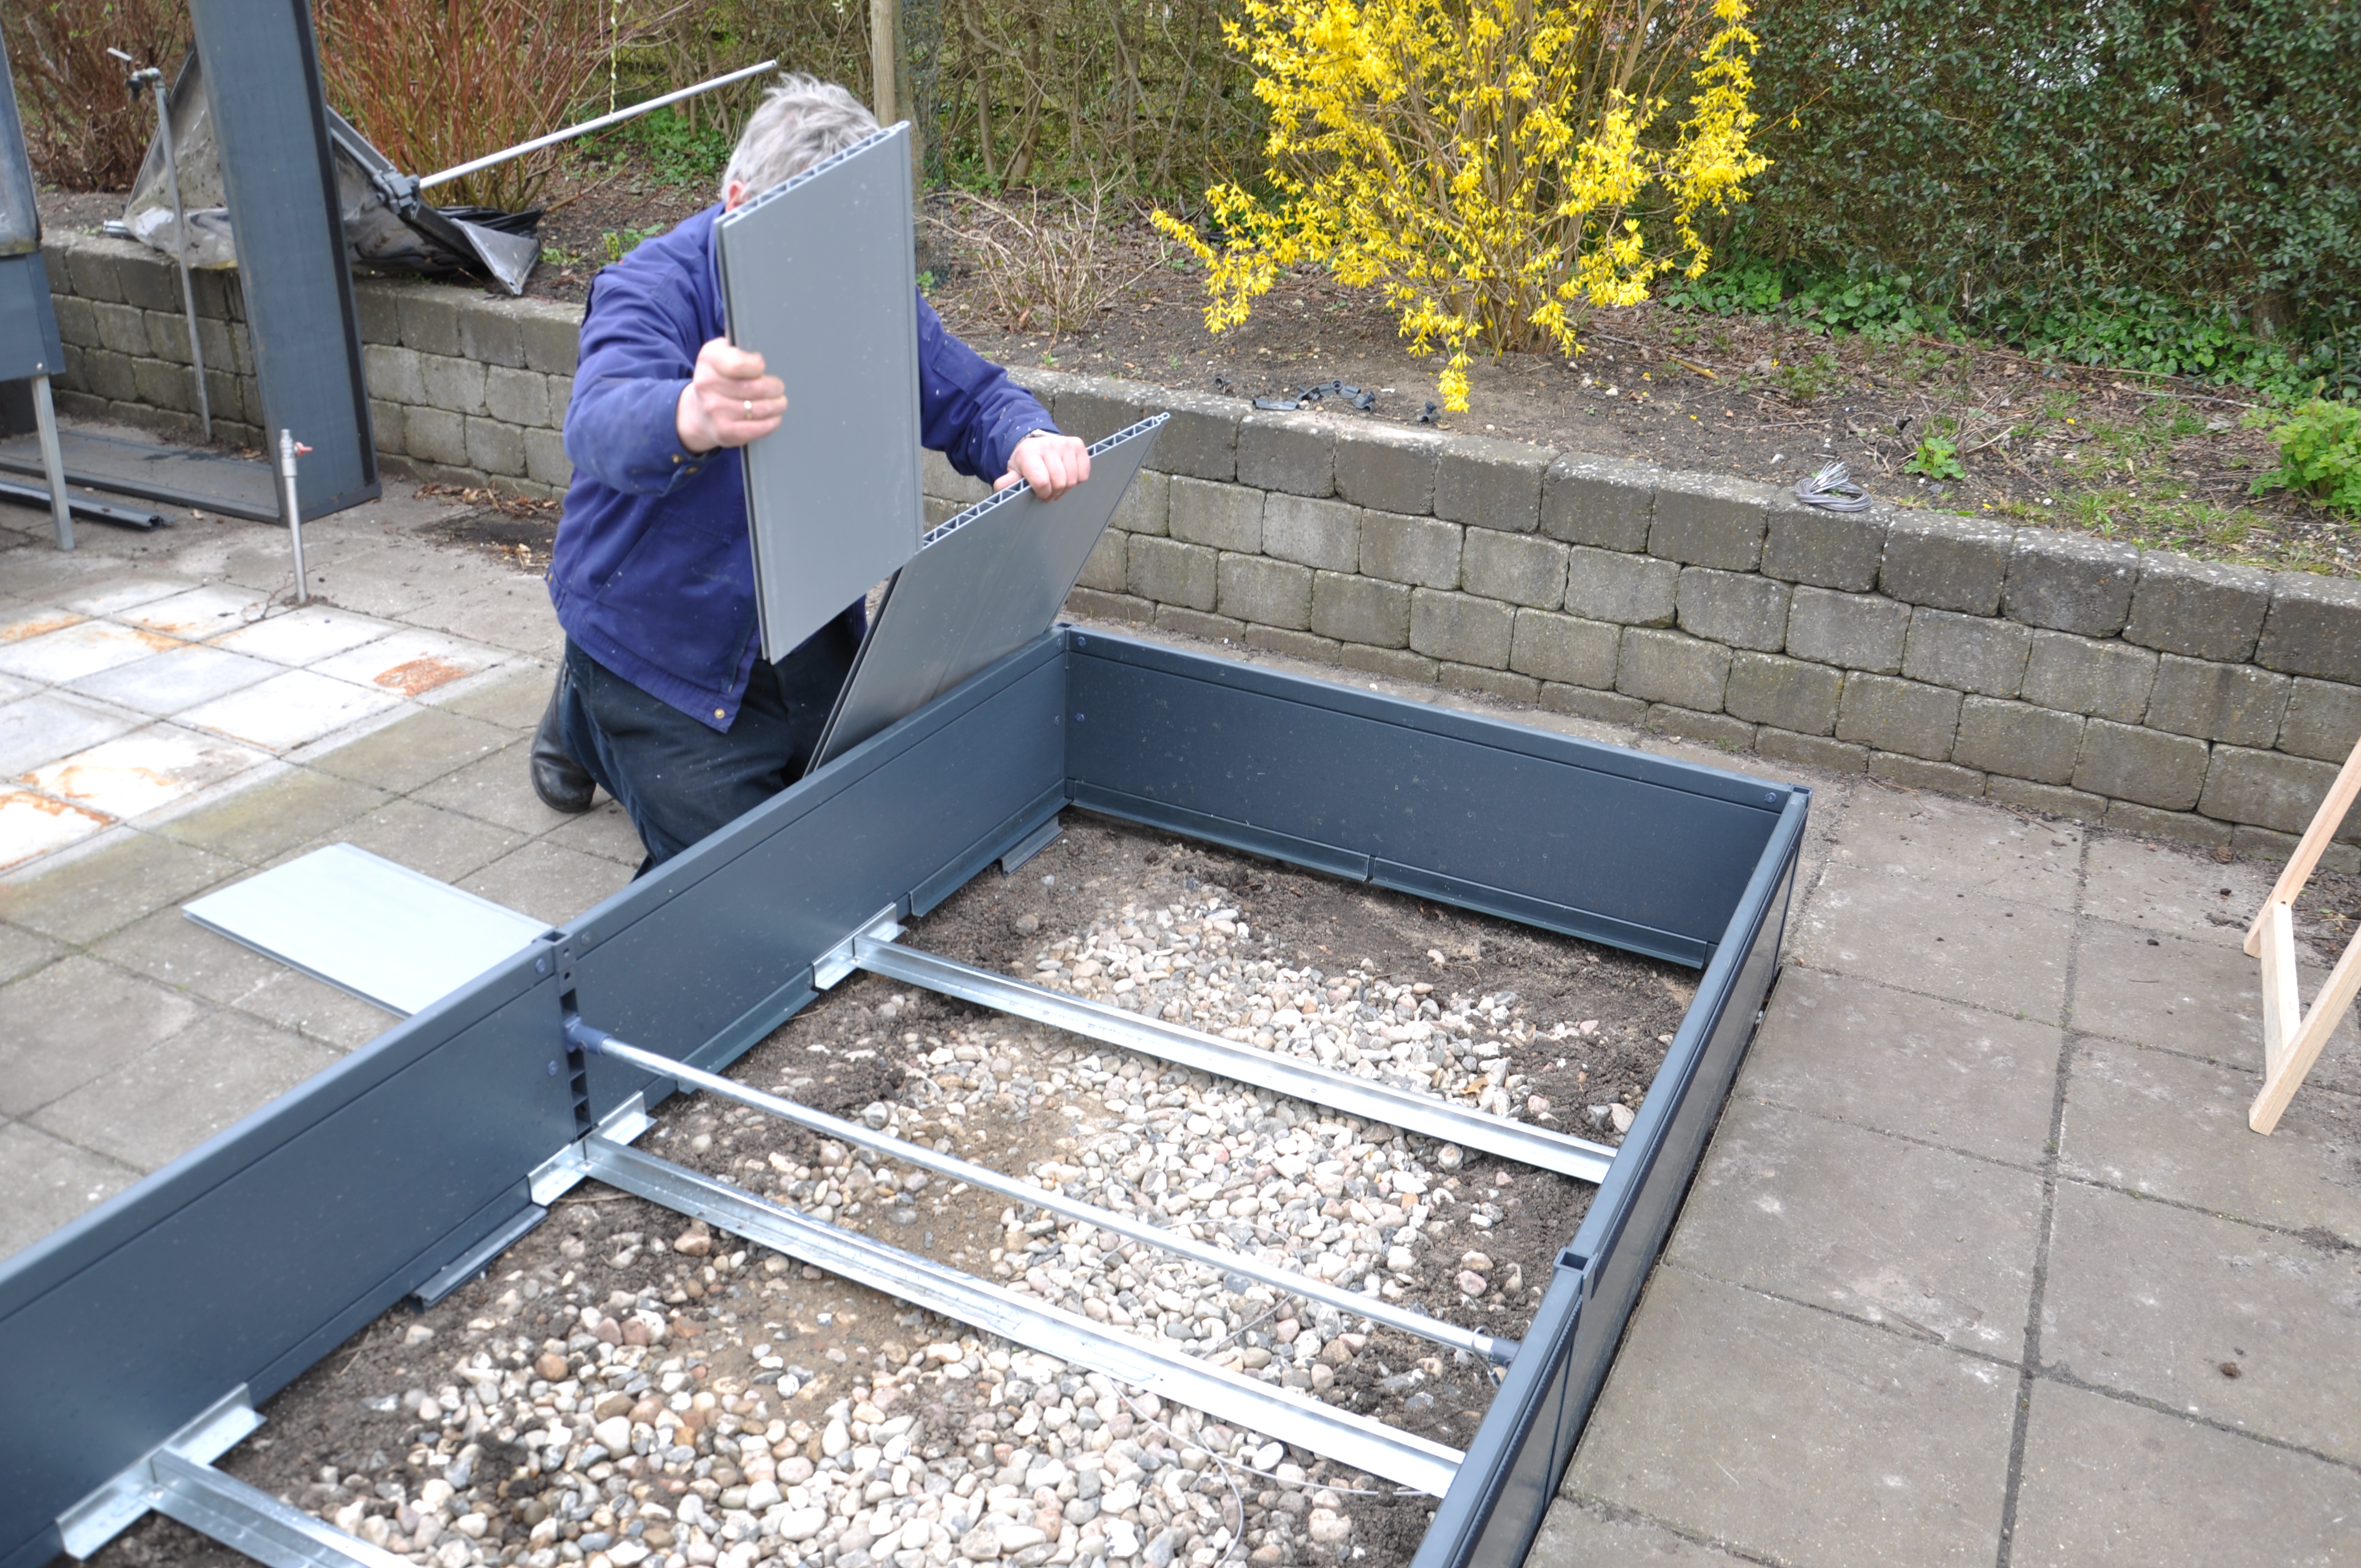
The lamella plates are assembled.

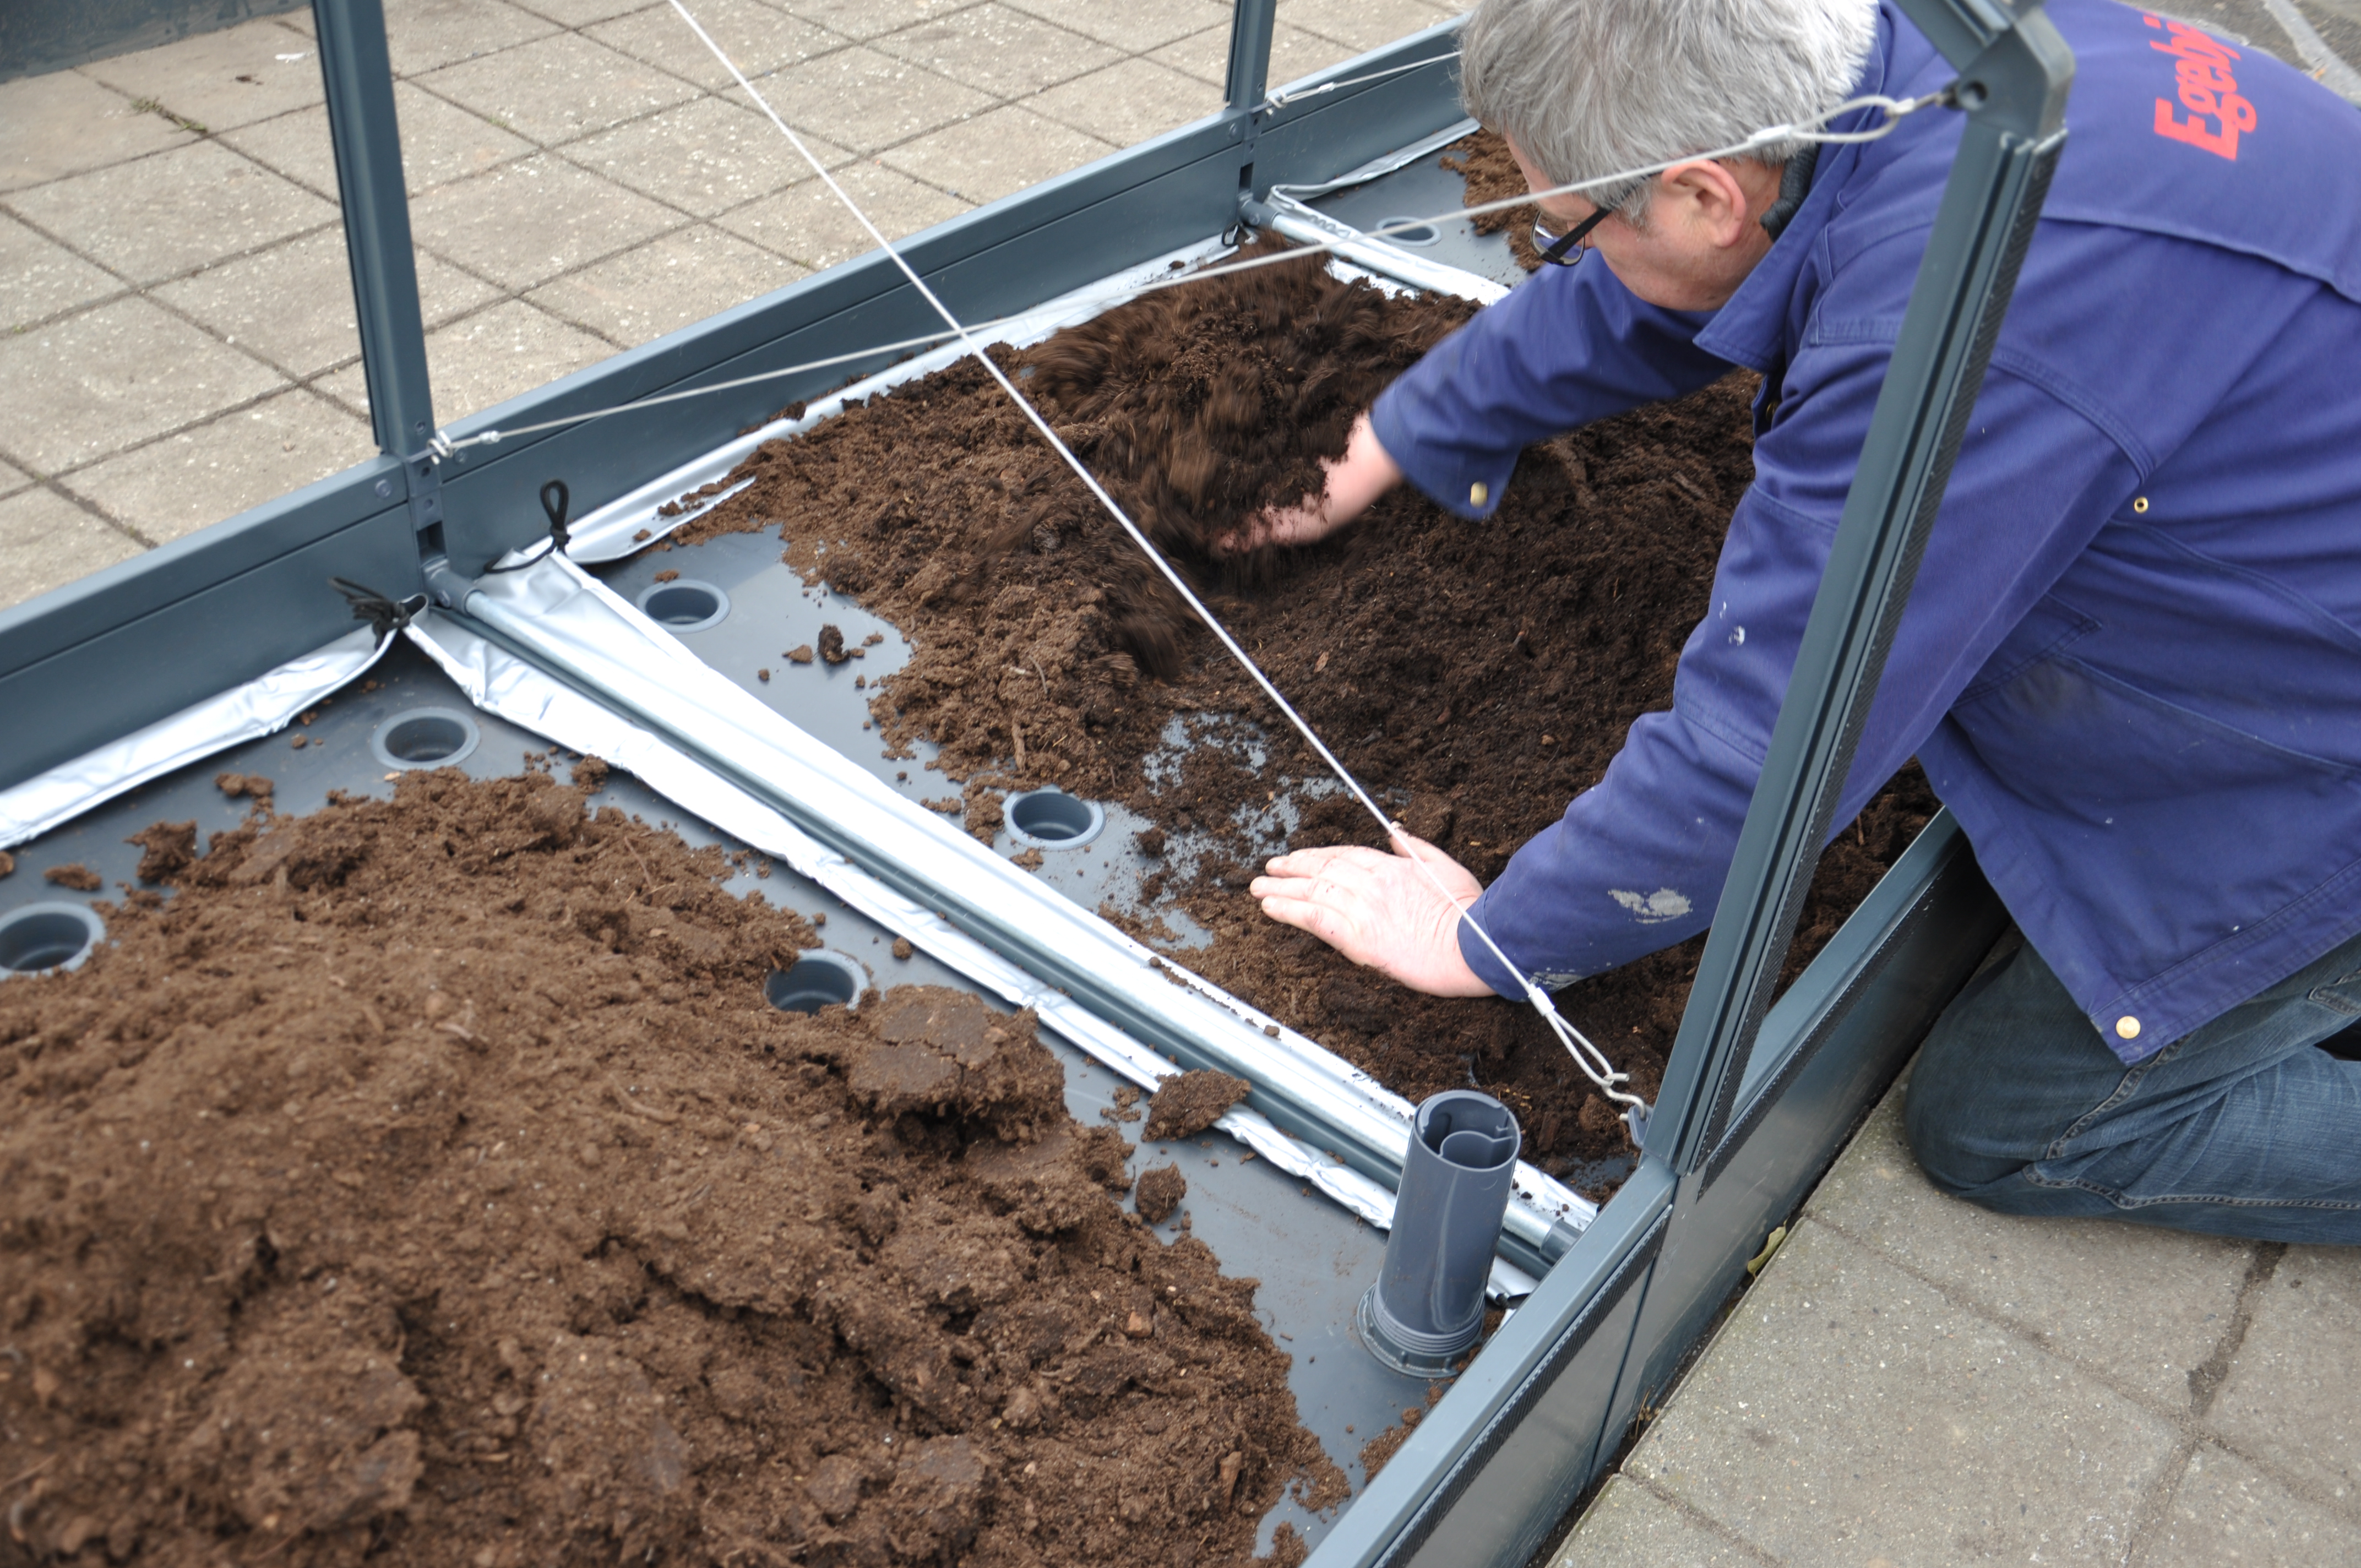
The bottom is laid down.
.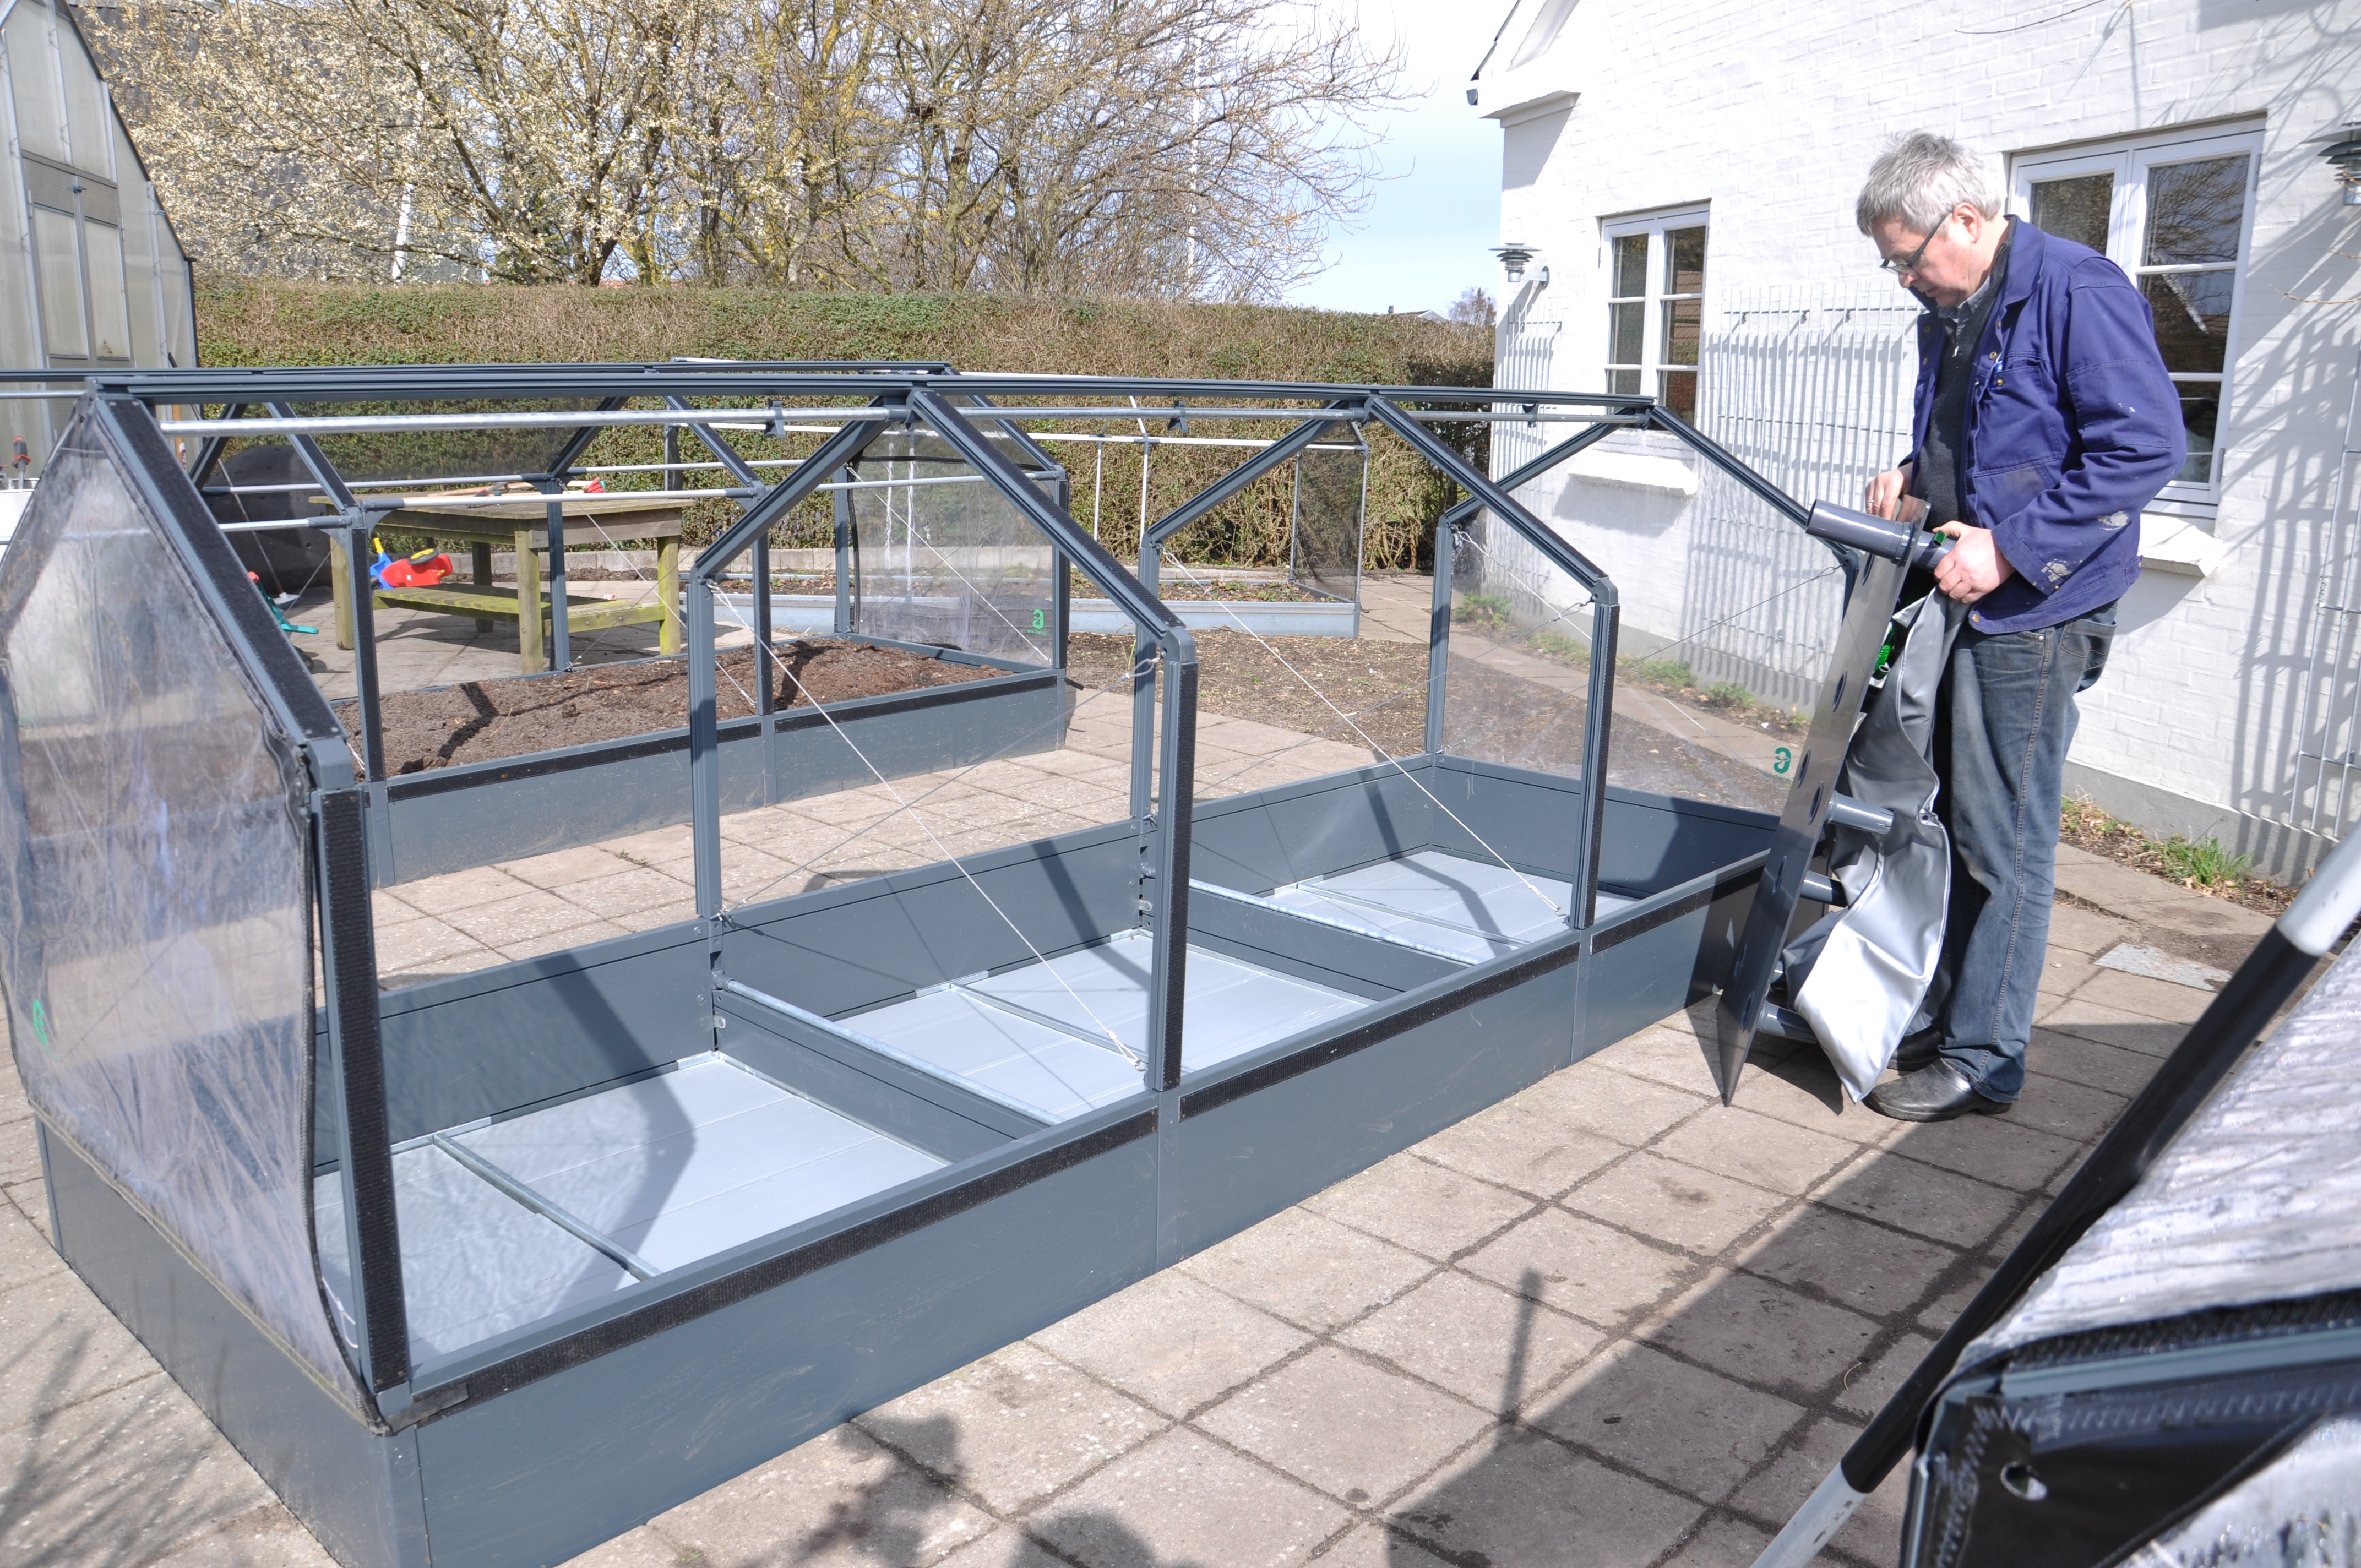
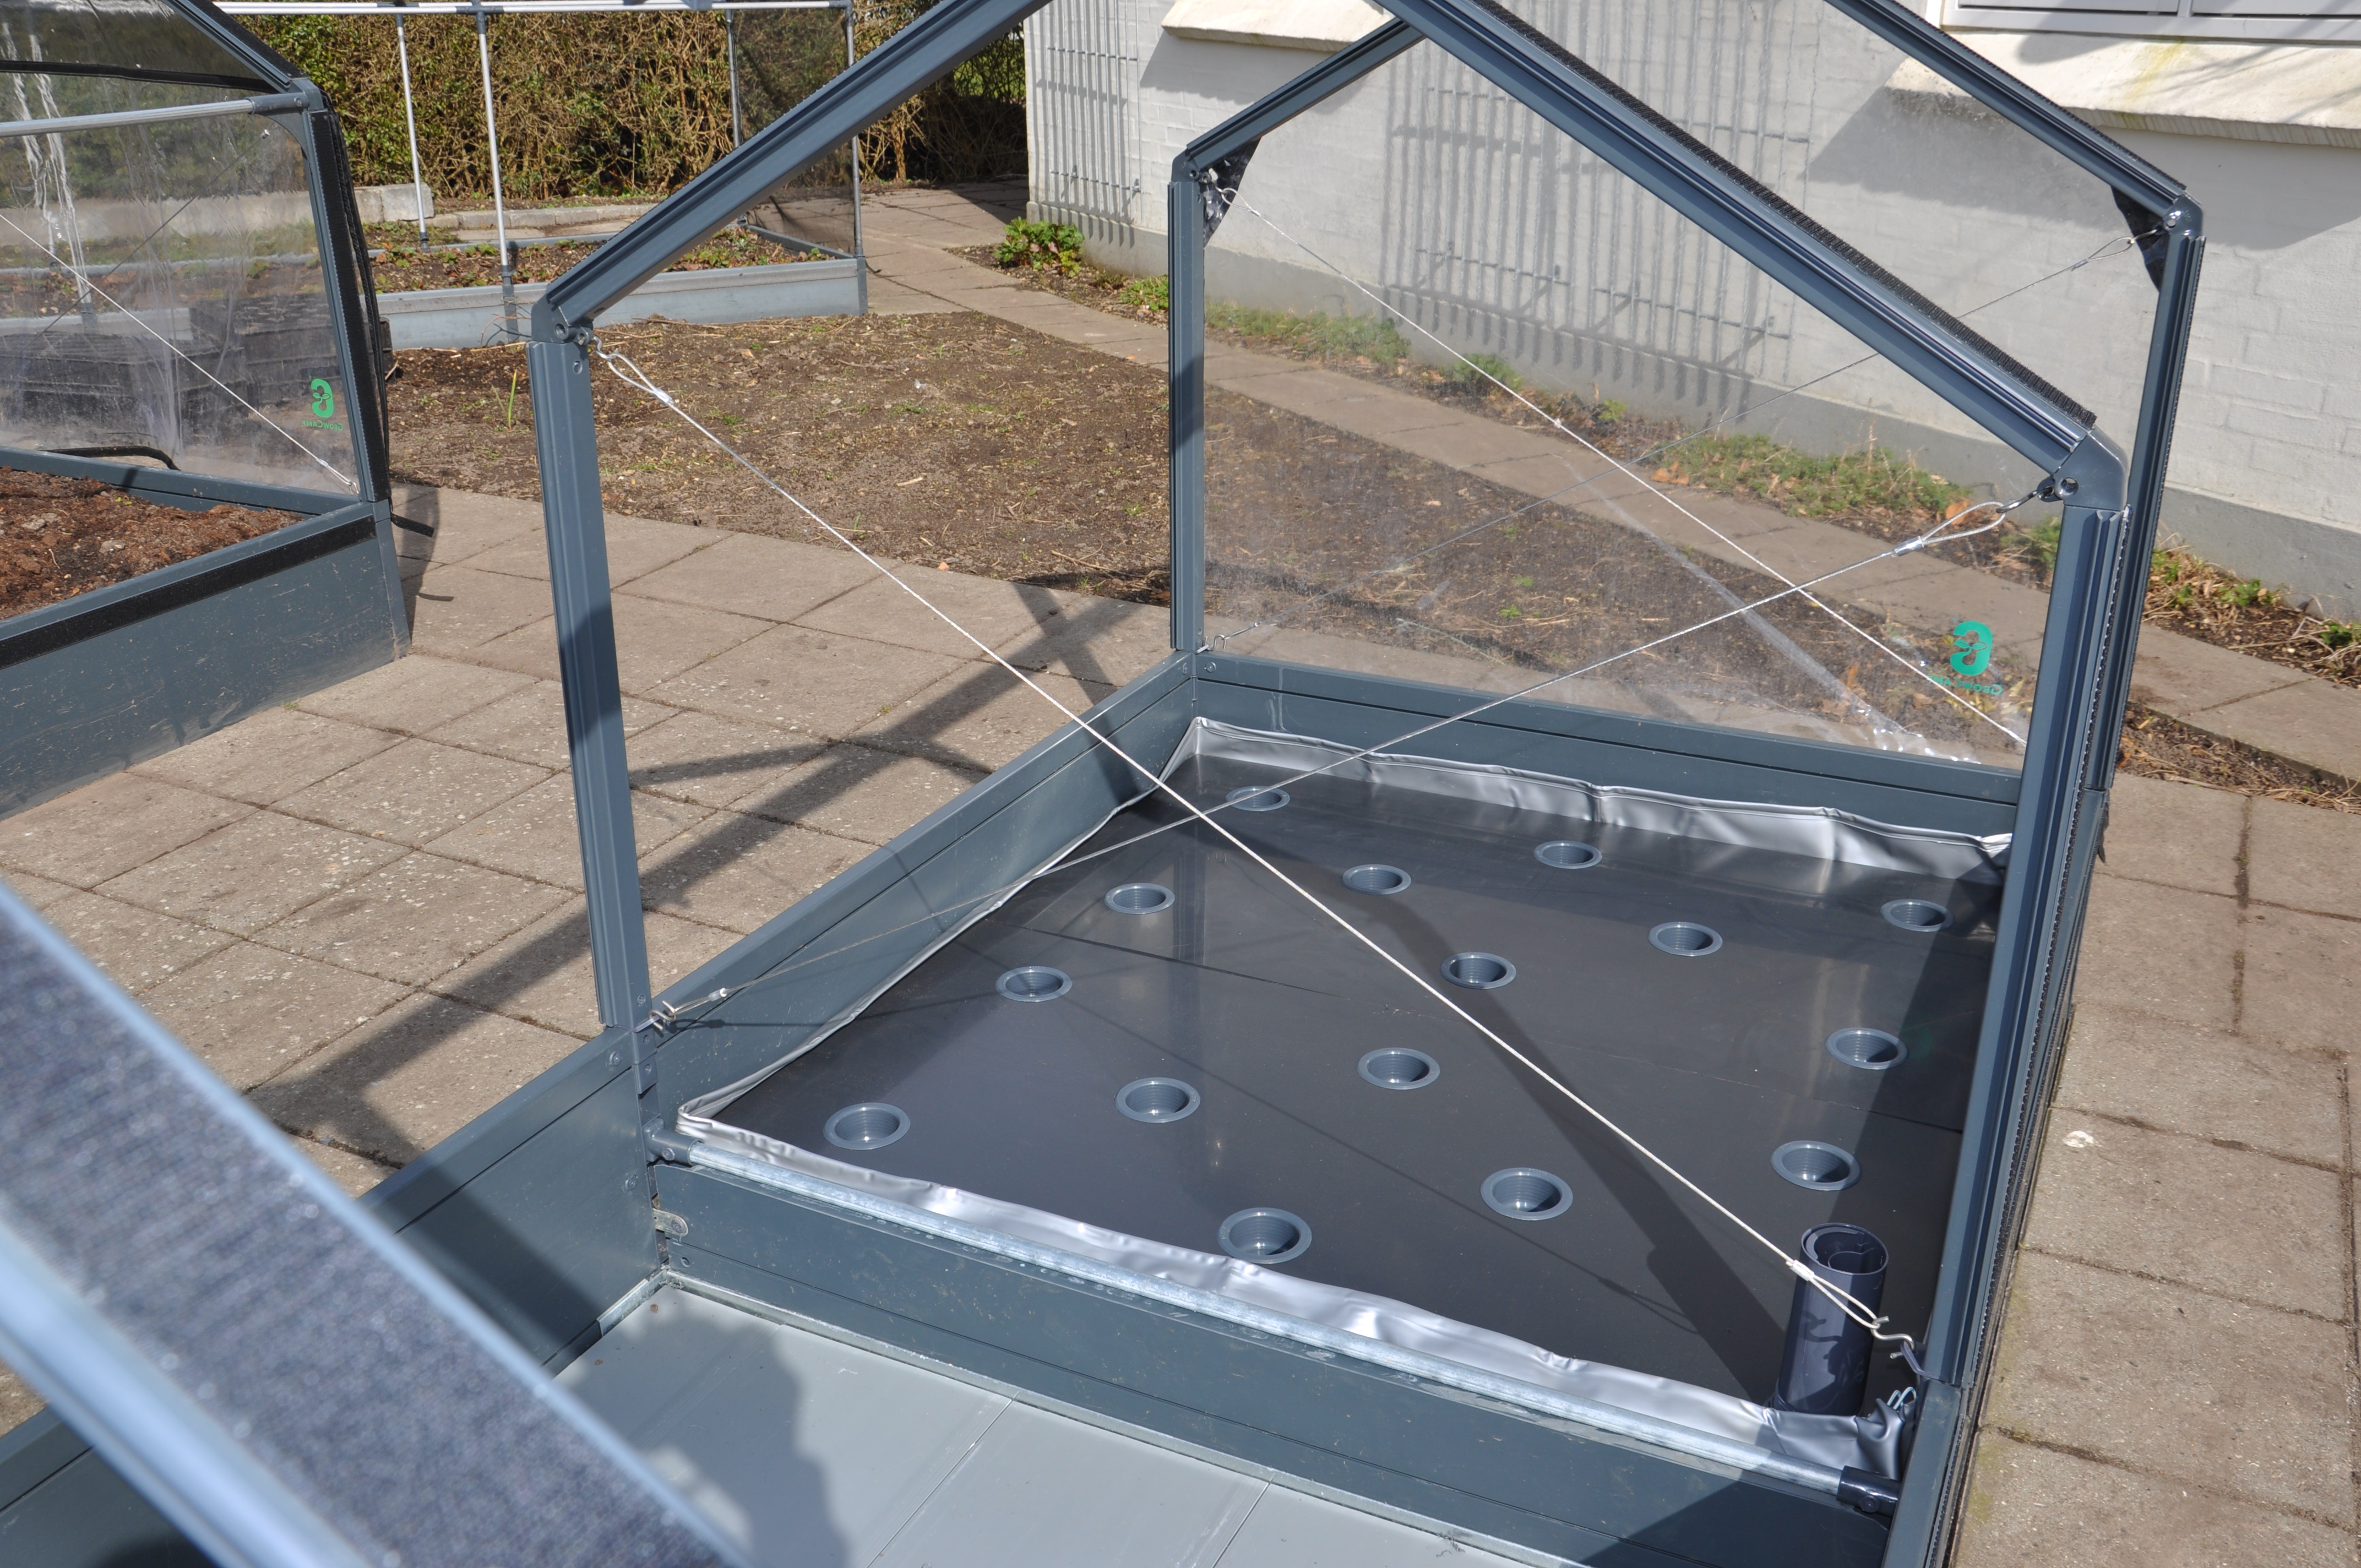
The irrigation effort is made ready.
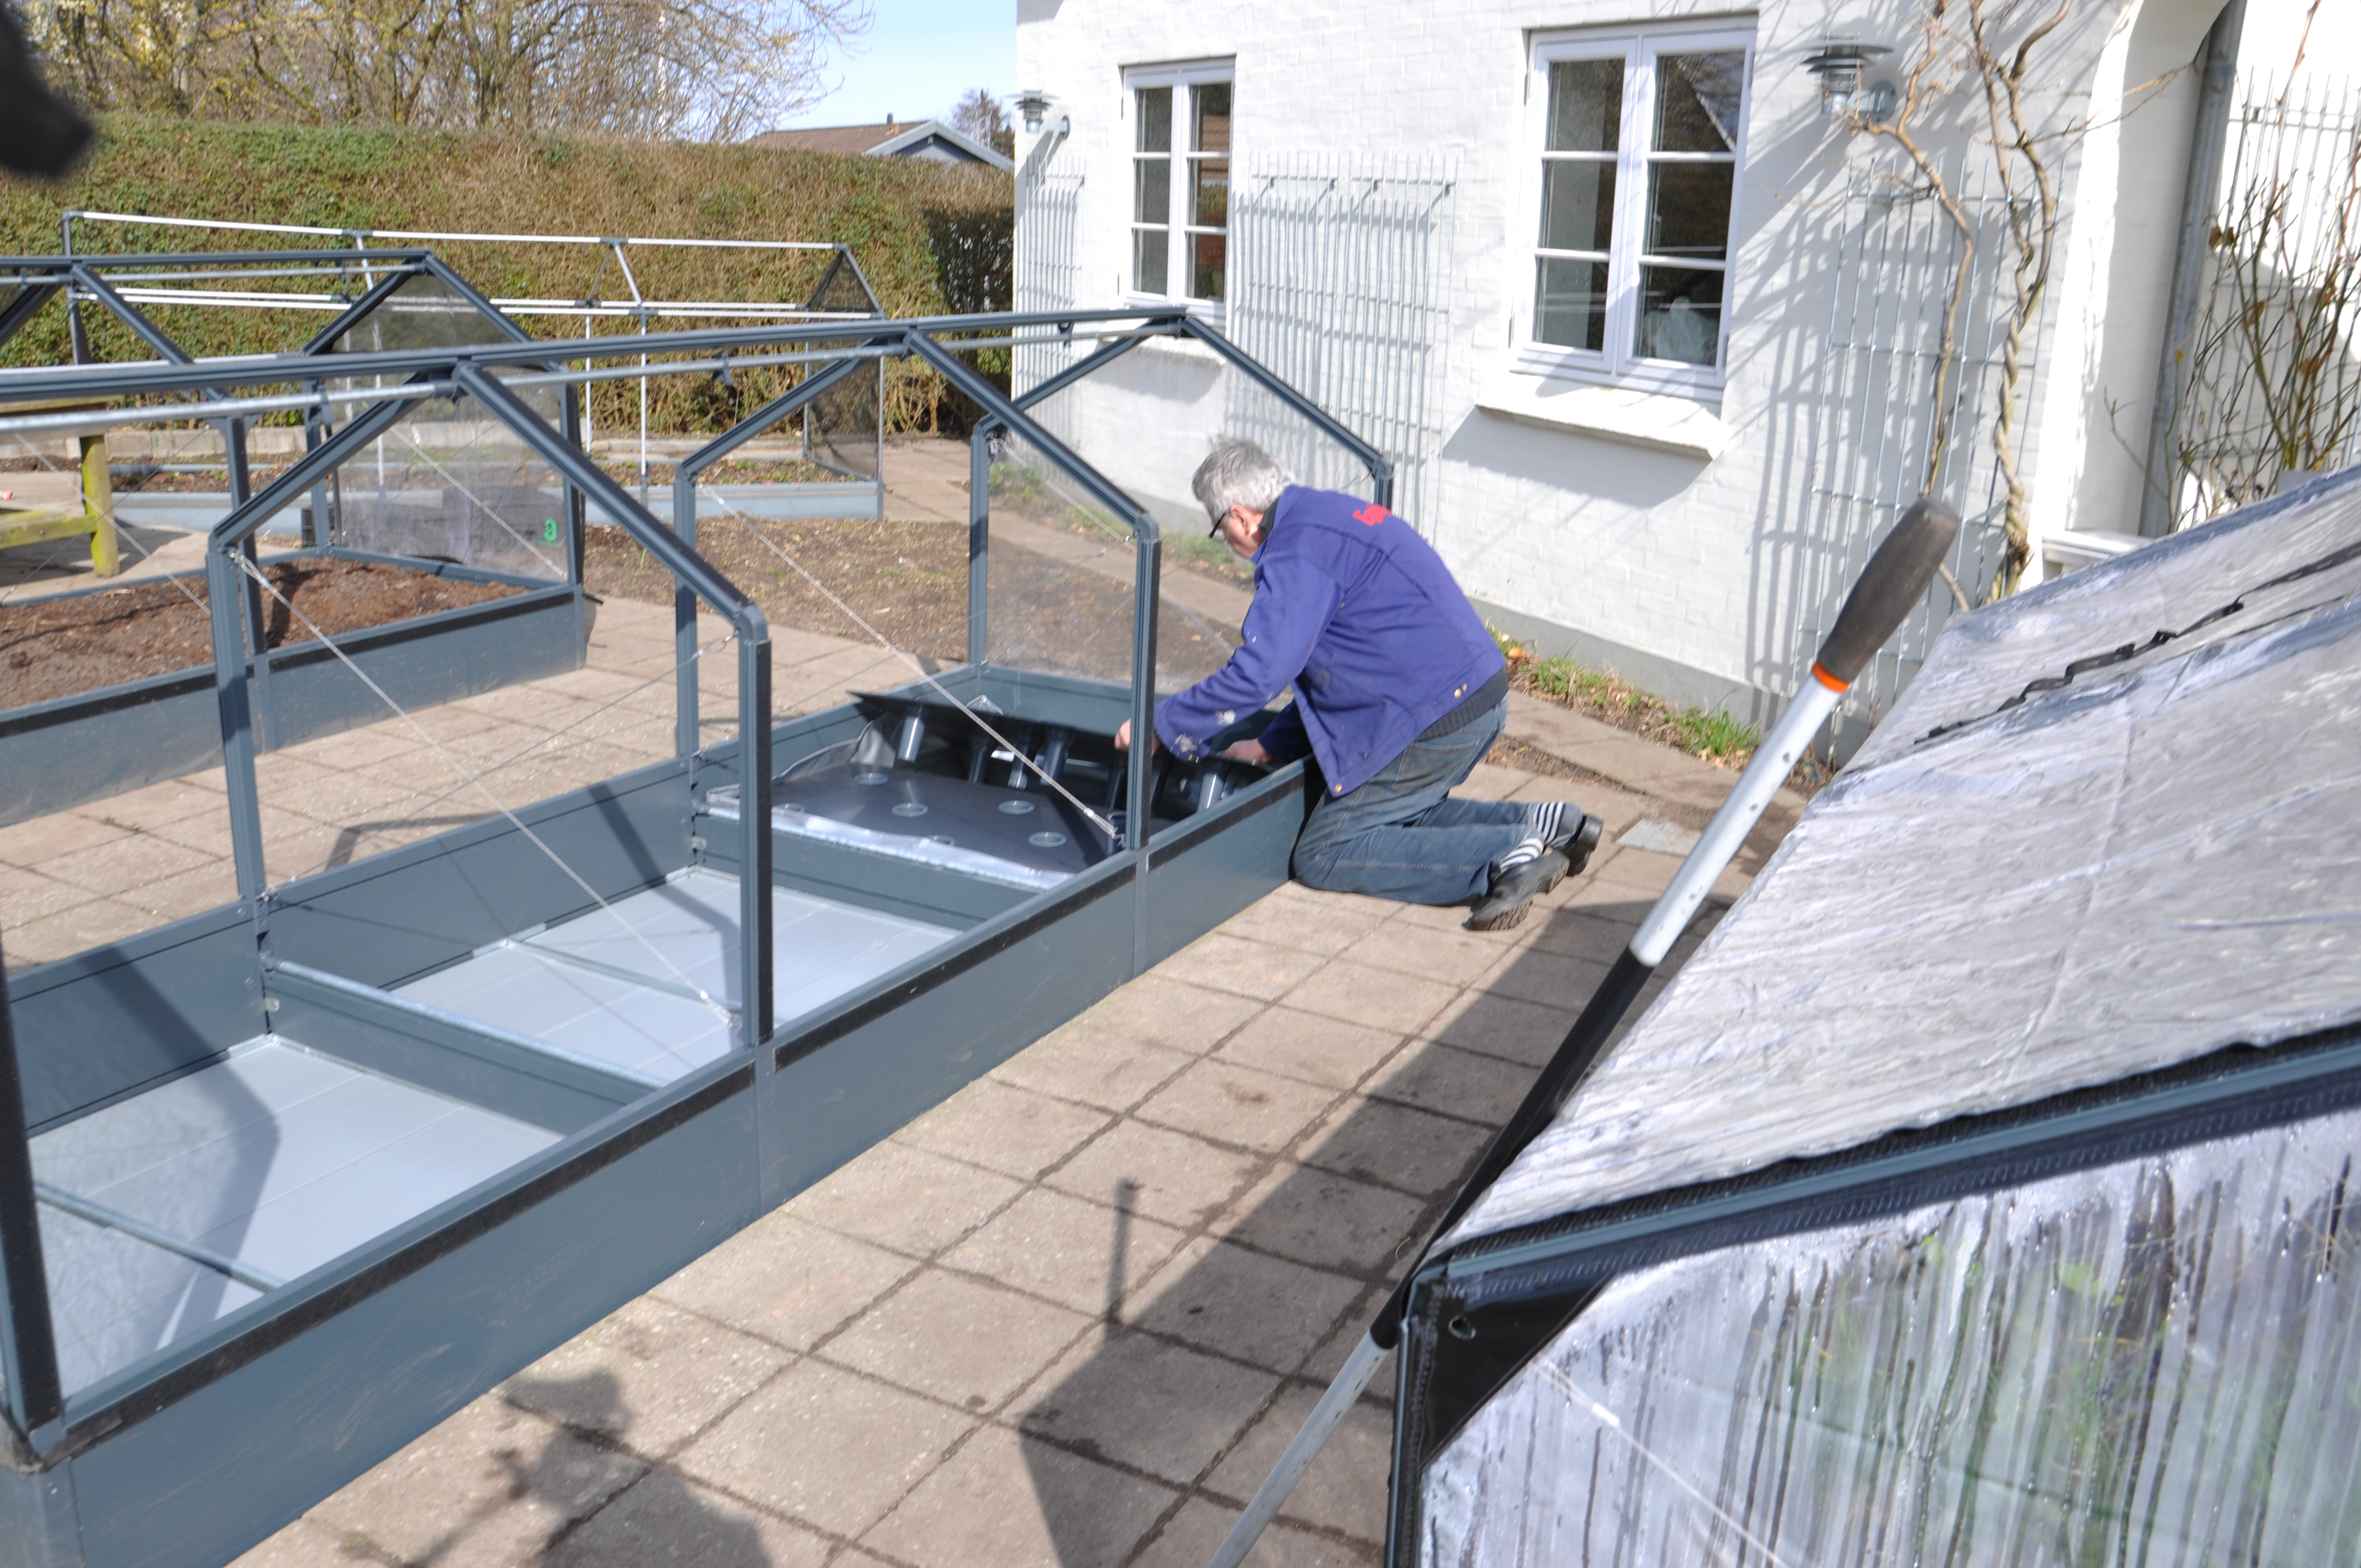
Irrigation inserts are placed in the bed.
En sektion er færdigmonteret.
.
A section is pre-assembled.
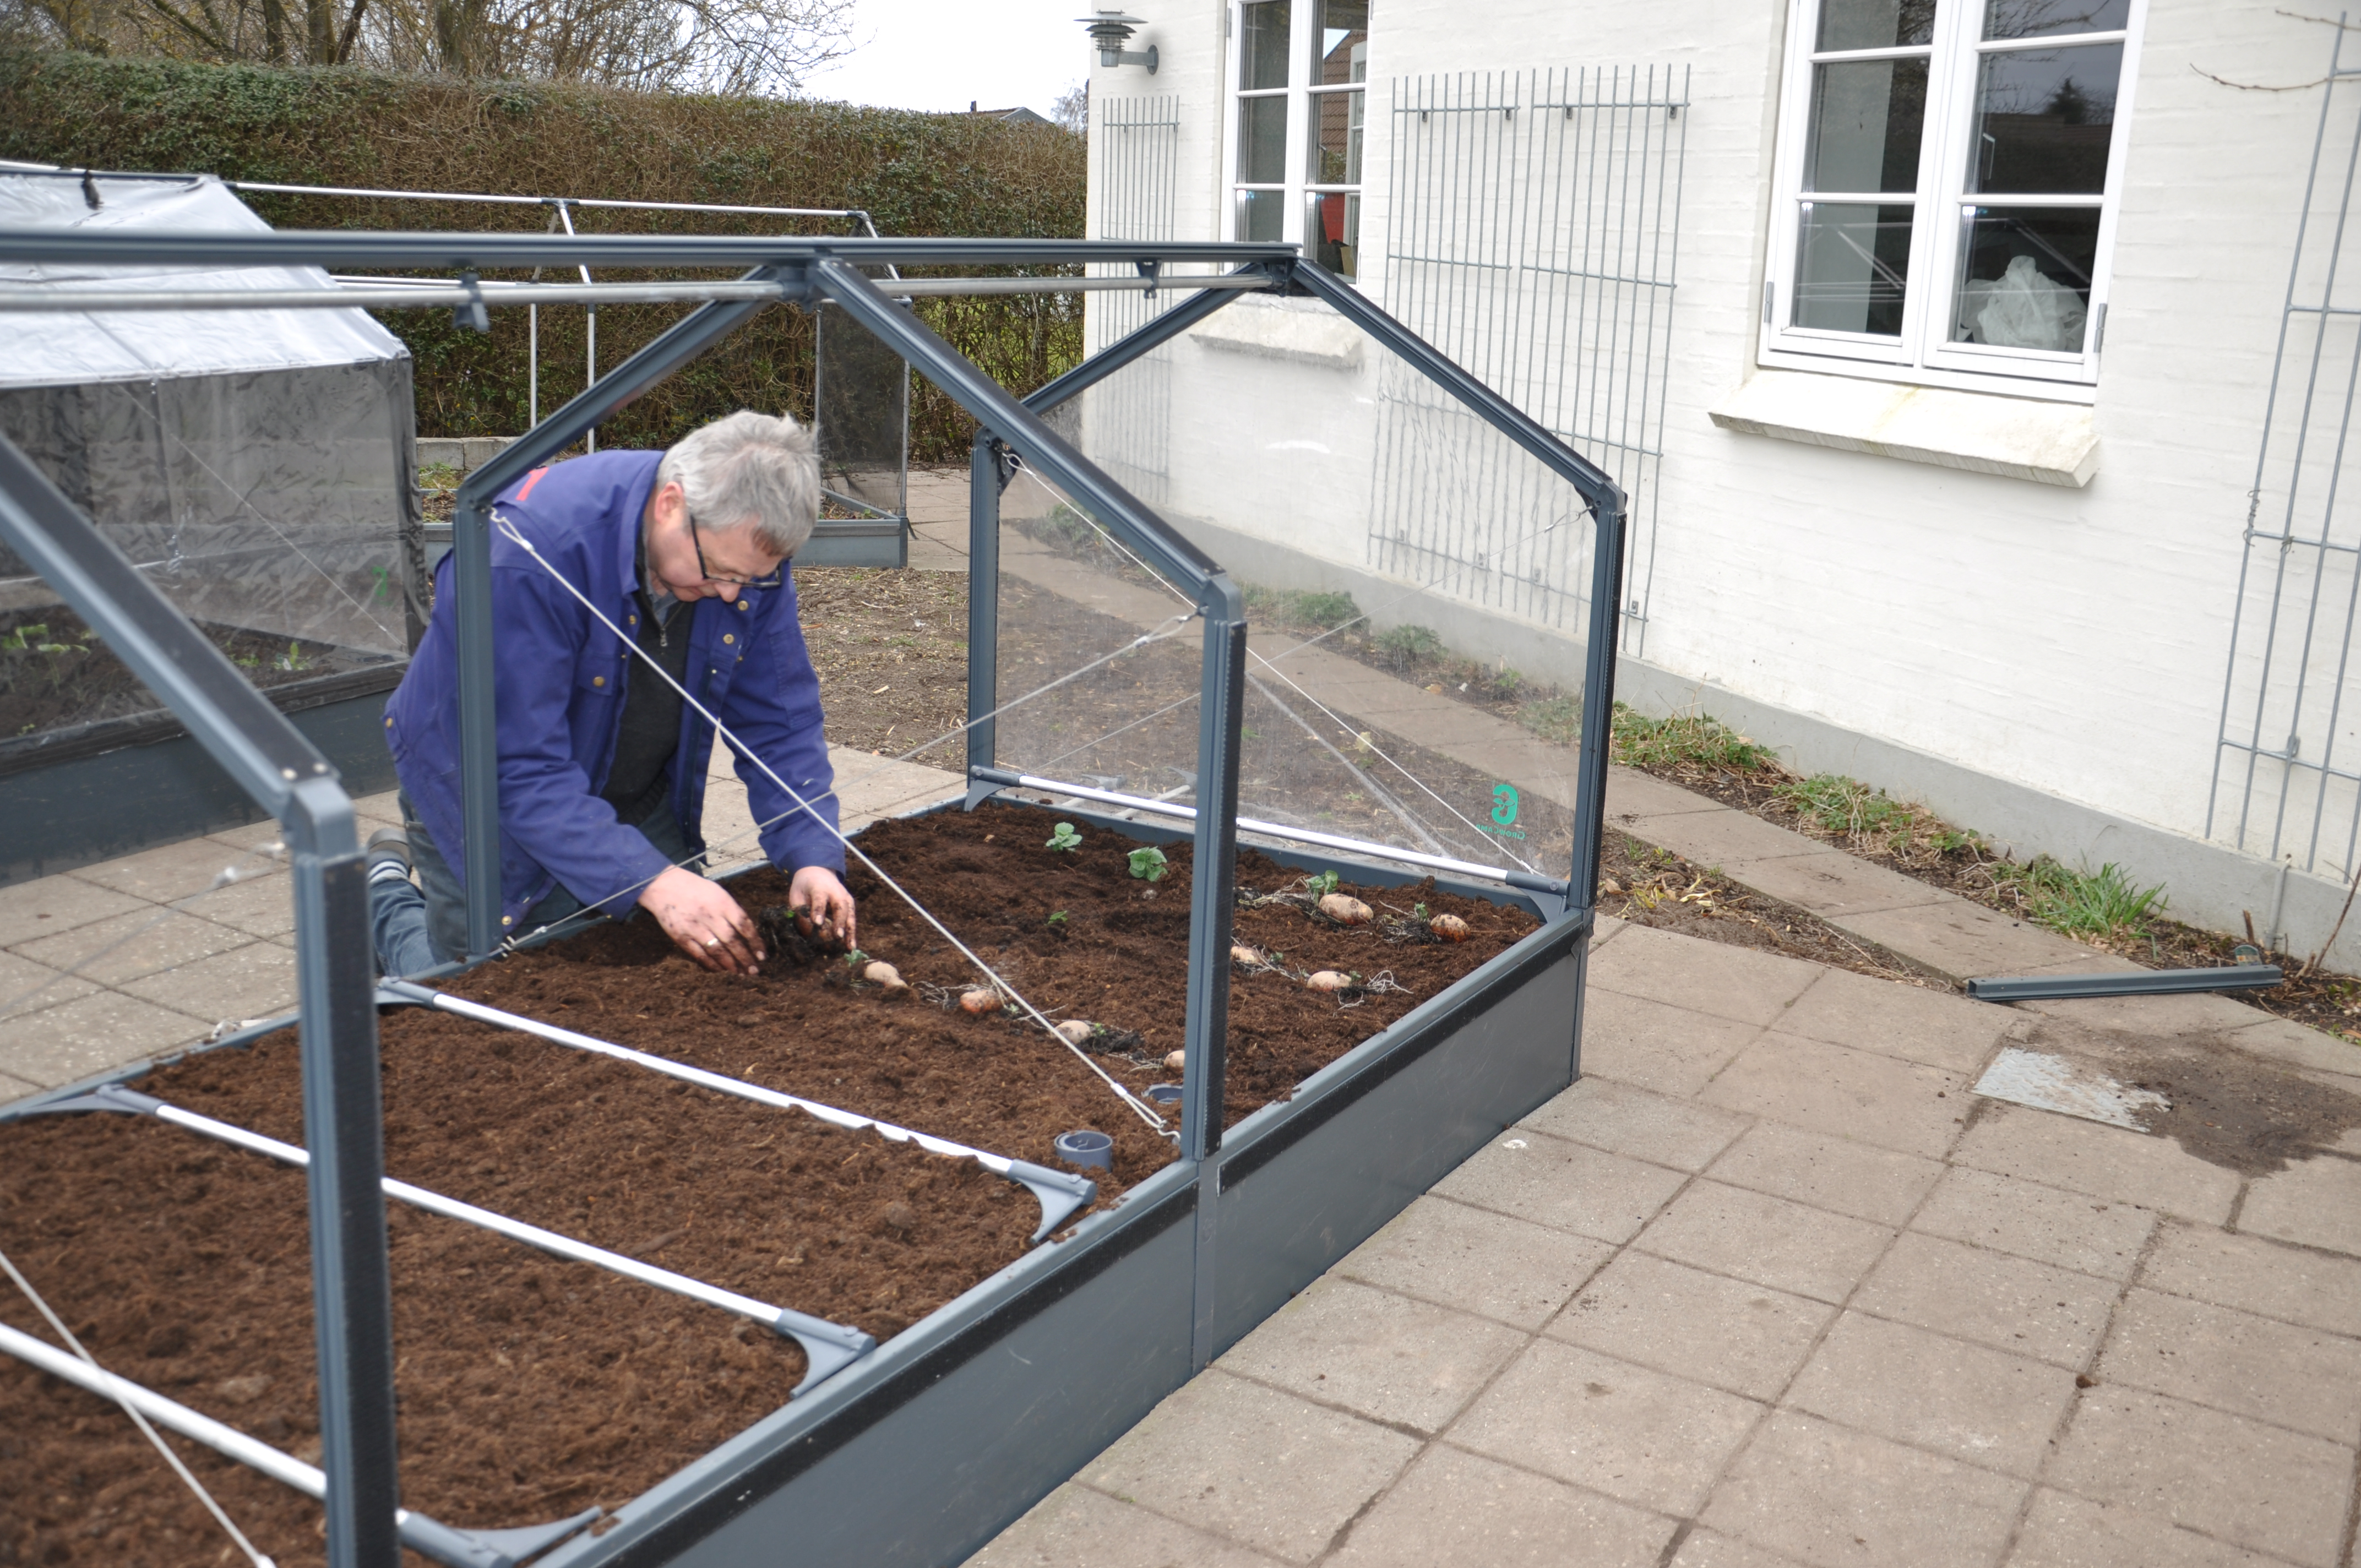
Then the potatoes can be laid!
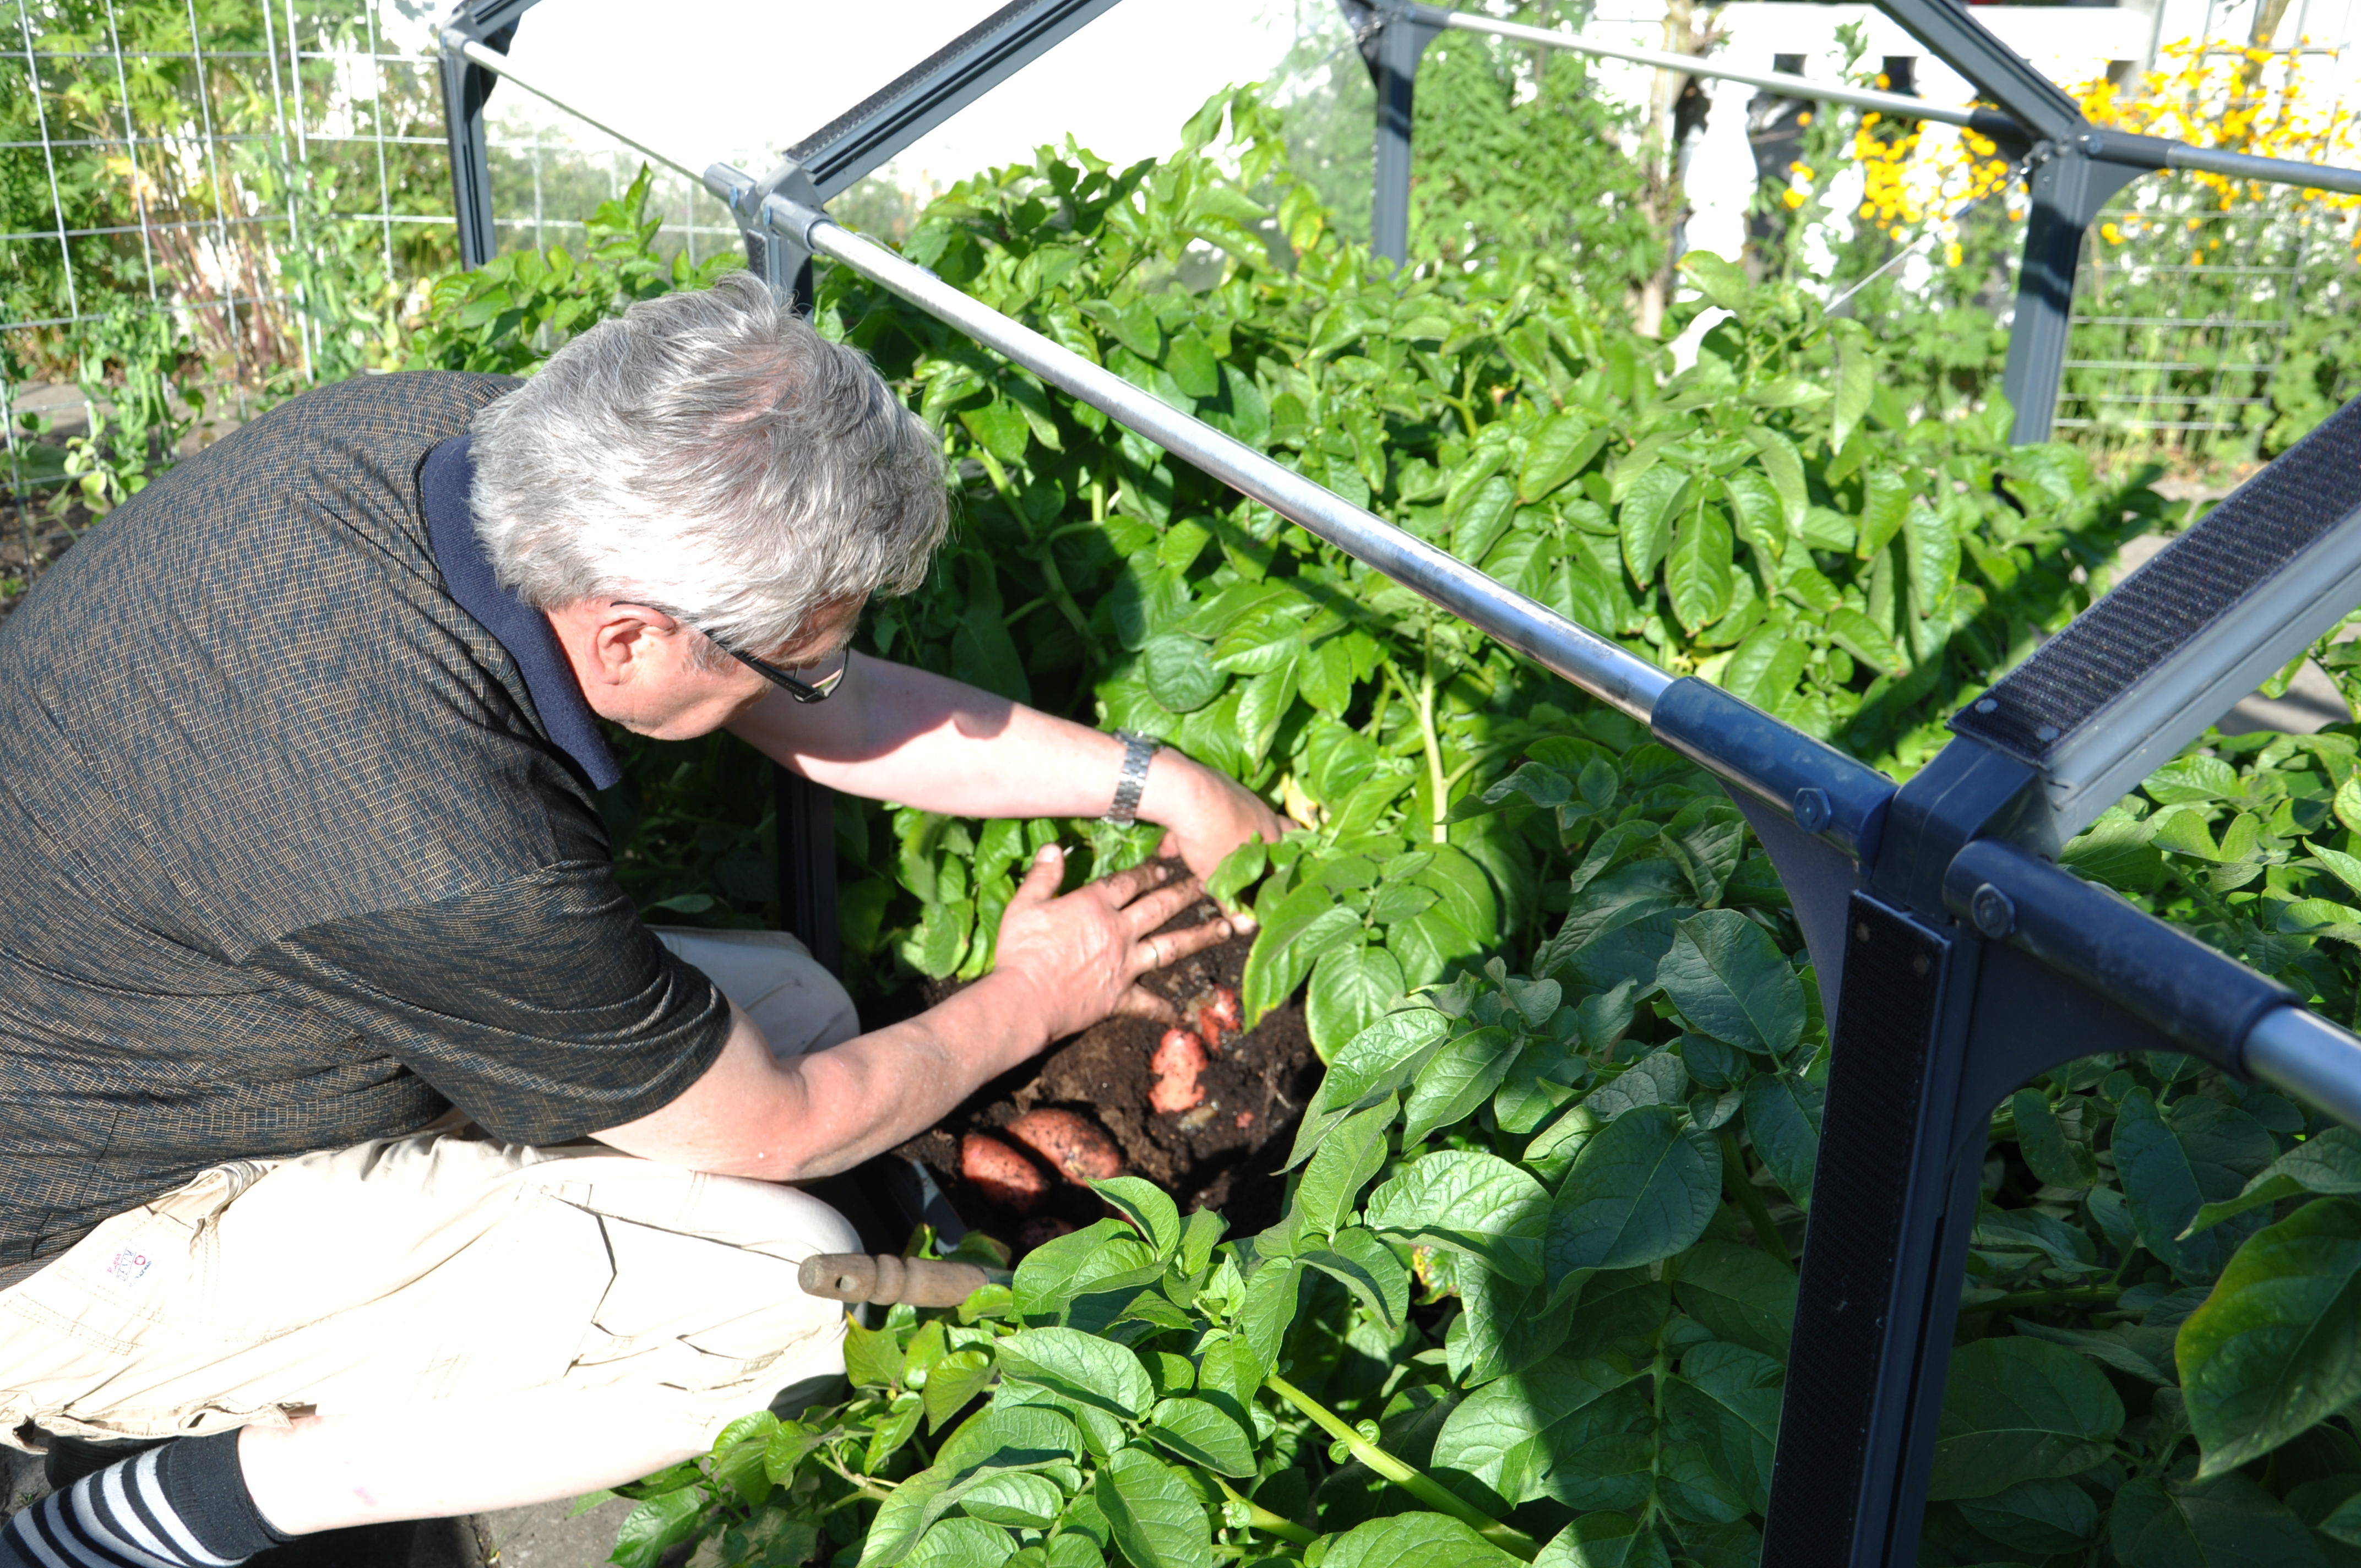
Autumn time!
Advice on irrigation and fertilizer
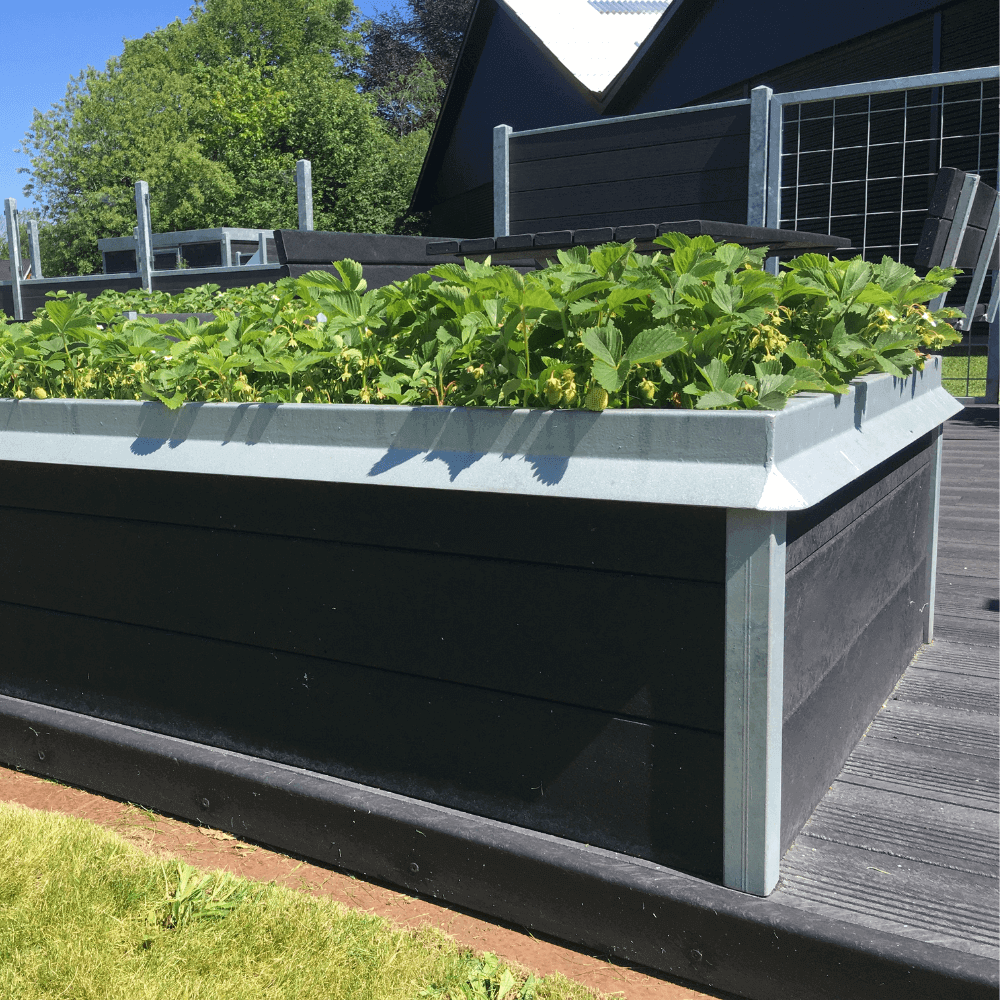
Only fill the capillary irrigation with water when the plants are well established and the root system is well developed. Water manually until then. Otherwise you risk that the roots do not get enough oxygen and that the plant thrives or goes out.
If it has been raining for a long time and the soil is very wet - and the temperature is not very high, then it is very important to let some of the water out so that the soil can dry out a little. Under no circumstances should the plants stand for many days in very wet iodine.
Many plants do not like wet soil at all - and almost all plants need to dry out occasionally to thrive.
Wait to apply fertilizer until the plants are in full growth. They do not need much to begin with, because there is usually fertilizer in the soil you buy. Use liquid fertilizer - but only small doses to begin with. Only when the plants get light leaves and possibly. grows more slowly, fertilize with the dose recommended by the fertilizer company.

-1.backdrop.png)
-1.backdrop.png)